Welcome

Welcome to my wargaming blog,
I'm Dave and live in Morpeth, Northumberland in the UK.
This may or may not be a regular thing, we'll just have to see how it goes.

I am a painter/collector of figures first and a wargamer second. My thrill in this great hobby of ours is to place that final well researched & painted unit into the cabinet. The actual gaming with the figures is an important but secondary experience, we all like to win, but it isn't the be all and end all of it, being with good friends and having fun is.
Hope you will enjoy reading this blog as much as I will writing in it.
Just to remind the visitor to scroll down the various pages and click on 'older posts' to see more.
Dave.

Saturday, 8 October 2011

The battle of Austand 1704.
The following is an account of a 10mm WSS game between Neal and myself in my garage at home using '& Blenheim Palace' Black Powder amendments from Last Hussar
The main change to the Black Powder rules in this supplement is that the Firing phase now comes before the command i.e. movement phase. This means that in effect a unit cannot now move up to an enemy and fire in the same turn but must now suffer the enemy unit to fire before being able to close in it's own initiative phase. We found that this seemed to reflect and encourage the use of the correct tactics for this particular period where units rarely engaged in melee other than fighting for built up areas, redoubts etc. We may in the future extend this to say that only shaken units may be charged from the front, we shall see.
All infantry get 'First Fire' +1 on the first time they fire, plus the British and Dutch get 'Platoon Fire', another +1 on their first turn of firing making them +2 in total. French cavalry us the 'Caracole' rule meaning that they cannot counter charge but instead fire at charging enemy cavalry using one die. The British cavalry have 'Ferocious Charge', re-rolling missed die rolls in their charge phase.
So here goes with the account of the battle:

The battle of Austand 1704.


June 1704, an Allied advance guard consisting of fifteen battalions of foot with artillery support and ten squadrons of horse commanded by Lieutenant General Cutts approached the village of Austand in Bavaria.
It was 10 o’clock in the morning when Cutts observed a French force occupying the village itself, and the ground either side. After counting the standards of each enemy unit it was found to consist of nine infantry battalions, four dismounted dragoon regiments with attendant artillery and eight  squadrons of cavalry.
Cutts immediately deployed his infantry in two extended lines with a combined grenadier battalion in the centre to assault and clear Austand and its surroundings to the front. The ten squadrons of horse were placed on the Allied right flank opposite the French Gendarmes deployed there.

The battlefield with the Allies on the right of the picture and the French on the left with Austand village in the centre of their line.


 The other end of the field with the French on the right and Allies to the left.


Lumley's ten British squadrons ready to advance.


The left wing of the French, three battalions of infantry, one battery and eight squadrons of Gendarmes waiting to receive them.


The centre of the French line, dismounted dragoons occupying the village of Austand with three battalions of the veteran Navarre regiment in reserve behind.
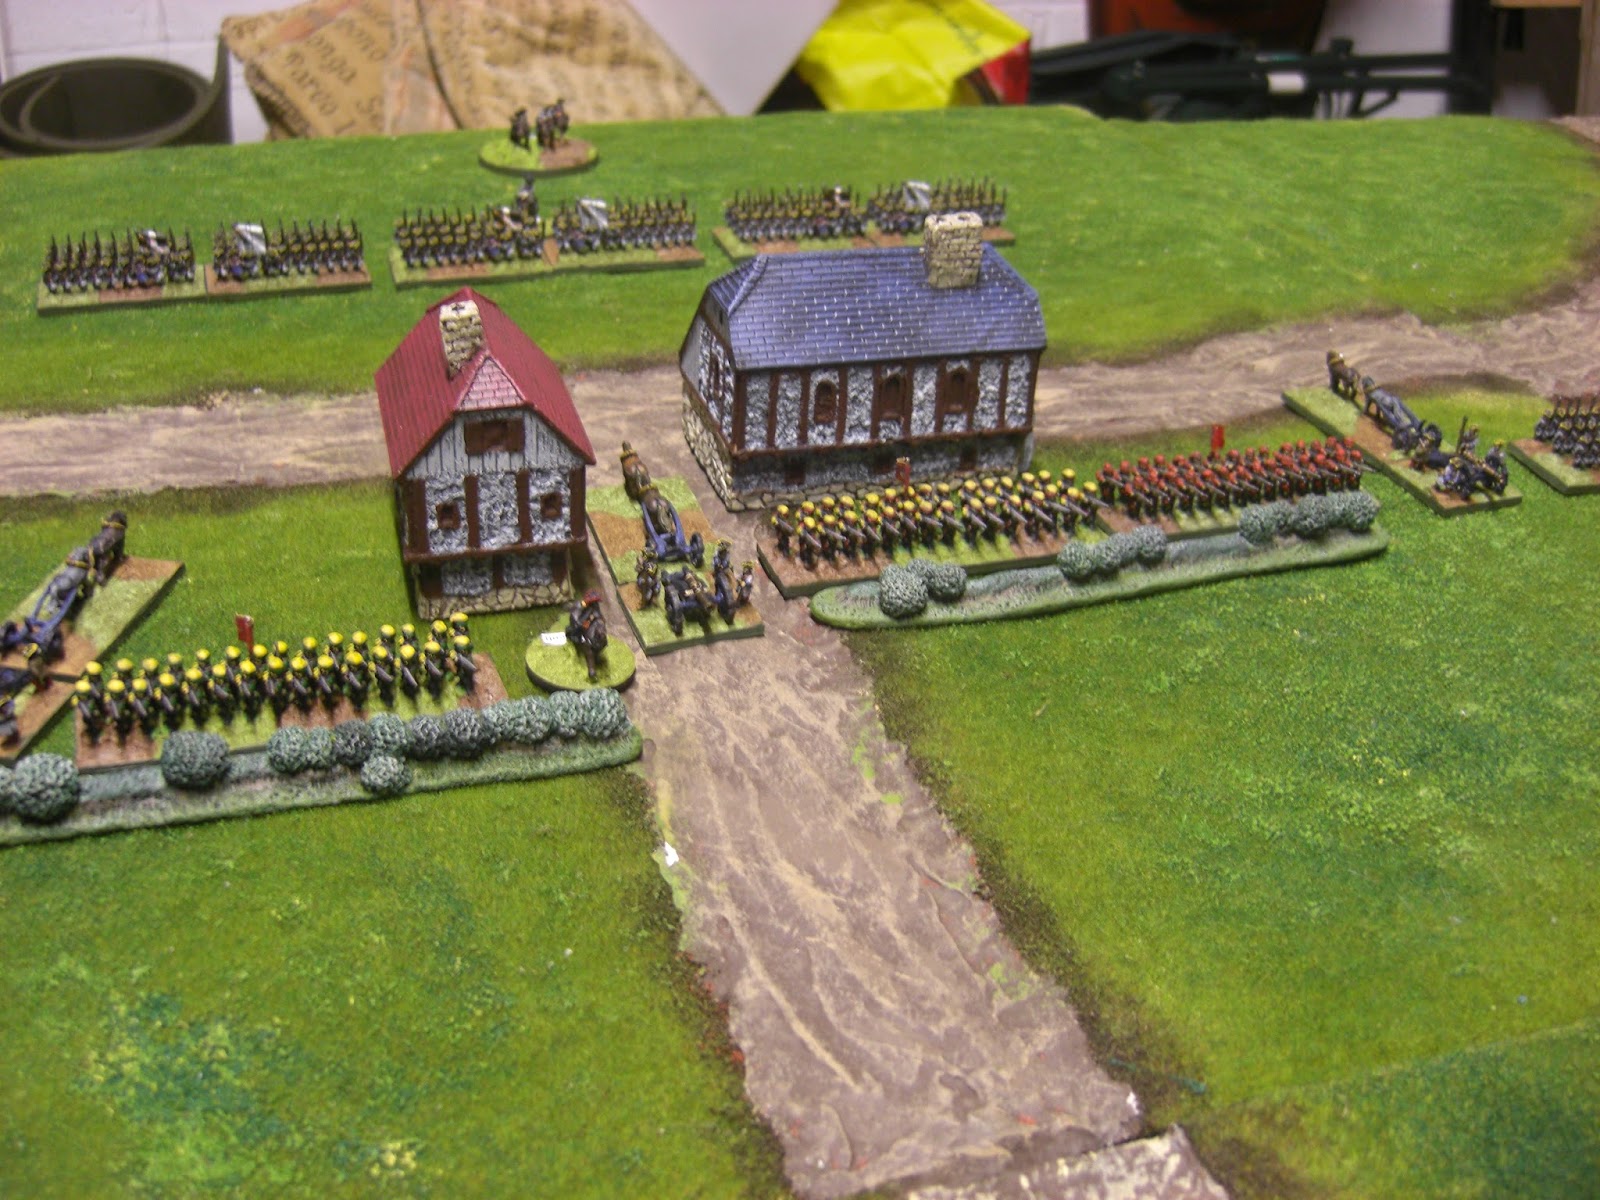

Grader's Brigade on the French right.


Opposite to them Ferguson's large British Brigade prepares to advance.


Finally the right wing of the Allied infantry ready to support the cavalry attack to their right, Rowe's British Brigade to the front with Wilke's Hessen Kassel Brigade in support.


At 11 o'clock precisely, after an initial artillery bombardment Neal (commanding the Allied force) ordered the advance of the left wing a good dice roll allowing three moves towards the French position.
This picture shows the attack going in on the third turn with the Grader Allemand regiment (in blue coats) having suffered heavy casualties in the firefight forcing the British Battalions back. The small die behind the unit shows it's moral status.

This shows the left hand Greder Allemand Battalion manoeuvring onto the flank of the British battalions which were saved by heavy and accurate British artillery fire into the flank of the French causing them to break. Both Brigades fought themselves to a standstill on this flank, in the end neither being allowed to advance closer to the enemy.

On the Allied right flank their cavalry begin their advance with the Rowe's Brigade in support on their flank. The Hessen Brigade may be seen lagging behind (crappy die rolling Neal!)
Both lots of cavalry were forced to remain in their squadron column formations through lack of room to deploy.
Big mistake Dave, I should have charged but I relied on the firepower (or lack of it!), the British cavalry sliced through their French counterparts after three turns. French to the right British to the left (every one's in red, confusing isn't it!).


Rowe's British Brigade on the right engages the French to their front supporting the cavalry on the flank. The firefight continued for a couple of turns while the cavalry attack was resolved. both sides received casualties however Neal decided to charge one battalion in which was destroyed by the combined fire of French infantry and close range artillery fire, this stalled Rowe's attack, however the Hessen Kassel Brigade was ready to push through the attack to its conclusion. (By the way the intended reserve of the three veteran Navarre Battalions were supposed to turn to their left and form up behind the threatened French left but the useless tossers didn't want to shift!)
My left flank was crumbling before my eyes.


Luck turns. Finally the three Navarre Battalions move into position, the British cavalry fail to get into place to exploit their victory over the Gendarmes and the Wilke's Hessen Kassel Brigade is tardy in it's advance.


 The first Navarre swings to it's left to oppose Lumley's British cavalry.


While the second and third Battalions drive off the Germans.

This pretty much concluded the action. It has to be said that I was fortunate to be able to move the Navarre Battalions when I did and that Neal was unable to exploit the devastating attack of his cavalry, however he agreed with me that charging in with that one Battalion of Rowe's Brigade instead of using it's superior firepower was the turning point accurately reflecting the period tactics I think.
All in all a cracking game and one which we will be repeating at the Boarder Riever club in a couple of weeks.
Don't get me wrong, Black Powder isn't perfect, the chance of moving three full moves in one turn at first appears weird (by doing this unsupported by other troops you can get into trouble) I still want to sort out supporting fire on troops charging into contact from this distance, however it can if you wish provide a skeletal set of rules upon which you can fit on bits to replicate the period in which you are fighting and you need to know your period to get this right. What it does do is let the game flow and achieve a fairly realistic result in a sensible time.
Hope you enjoyed the read.
Dave.

Sunday, 2 October 2011

Not been posting for a while but earlier I had a request by Craig to show the  techniques used when painting the 10mm WSS stuff so here goes:

Firstly I always undercoat in black using the Games Workshop sprays. Black as a pose to white undercoat means that if you do miss a bit, say under the arms, then it just looks like shading, where as the white undercoat stands out like a sore thumb! Many people swear by white and who am I to criticise, the black does dull the colours slightly but I don't tend to go for parade ground troops anyway and I like to speed things up as much as possible. I never undercoat using a brush, the time taken would do my head in!
I tend to use plastic bottle tops with Whitetack (not Bluetack as it's not as tacky) to save handling the figures themselves.
Anyway, first picture:
Strip of figures with the first coat of Dk grey on the tunic.


 A slightly lighter highlight of gray added.


Blue cuffs and red stockings, I try to pick one shade lighter than normal for 10mm to lift the colours as they are so small.


Brown belts, metallic silver musket barrel and bayonets added.


Yellow hat lace and flesh plus the base painted green to make it easier when basing the figures as space in between the ranks is tight.


The finished figures before basing. Old Glory have the flags cast with the figures, sometimes a pain but truthfully I quite enjoy it!


The finished Languedoc Battalion based using 'Basetex' brown and green and then highlighted. Figures varnished using Matt Games Workshop spray.


All figures in this instance are Old Glory.

That's all for now, hopefully a 10mm WSS battle report with pictures to come soon.
Dave

Friday, 16 September 2011

10mm Caesarian

These Old Glory 10mm figures were originally based up for Warmaster but as most of our lads at the club have progressed on to Hail Caeser they will of course do just as well for that set of rules. As the Old Glory figures come in strips of five then to fit the set sizes of the Warmaster bases some of the figure strips had to be snipped off to fill the bases up, a pain to be honest, but it does look better than having gaps between the stands.
I quite fancied Caesers wars against Pompey for a while, it's still an ongoing project so there's still plenty to do (like so much else!) but I'm getting there.
Three stands to a unit, with each unit representing either a Cohort or if the scale is made smaller i.e. ranges and movement halved, a Legion thereby enabling larger engagements to be represented.

Four Cohorts of an Eastern Legion.


Eastern Greek cavalry.


Slingers


Western Legion


Legionaries


With archers to the front


Gallic cavalry


Raw legionaries


That should do for now, however Neal and I will be trying out the 10mm Marlborough using Blackpowder. I have set the table up so he'll be popping over
 tonight to get started. These things are usually played out over a few weeks but I'll be taking regular photo's during critical points in the game and will then put them on here. Keep a look out!
Dave.

Sunday, 11 September 2011

Even more naval gazing

Did a bit more photography yesterday as the sun was actually out, though with a bit of cloud cover it just took the edge off the direct light which seems to work for me. I'm nothing like an expert with  what is actually my sons camera but I'm learning as I go.
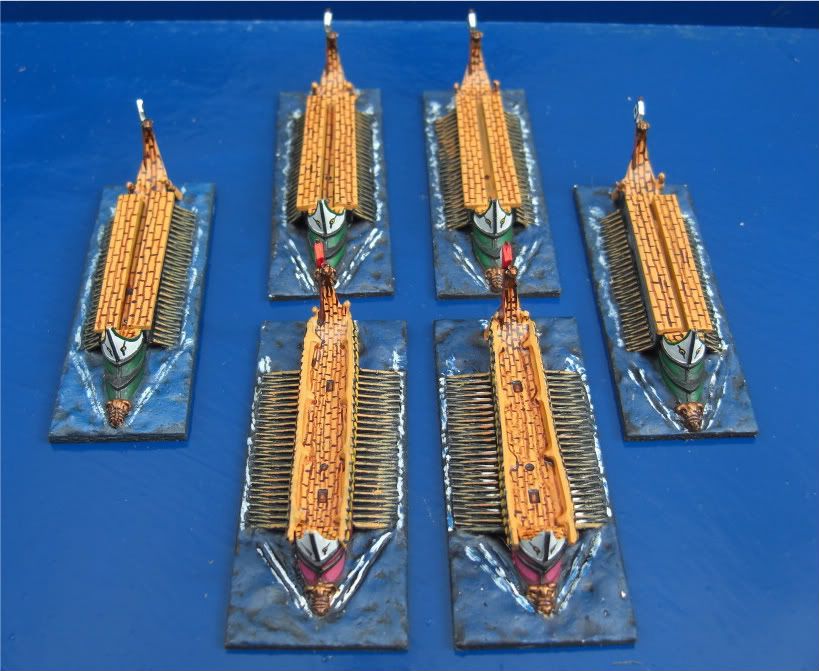
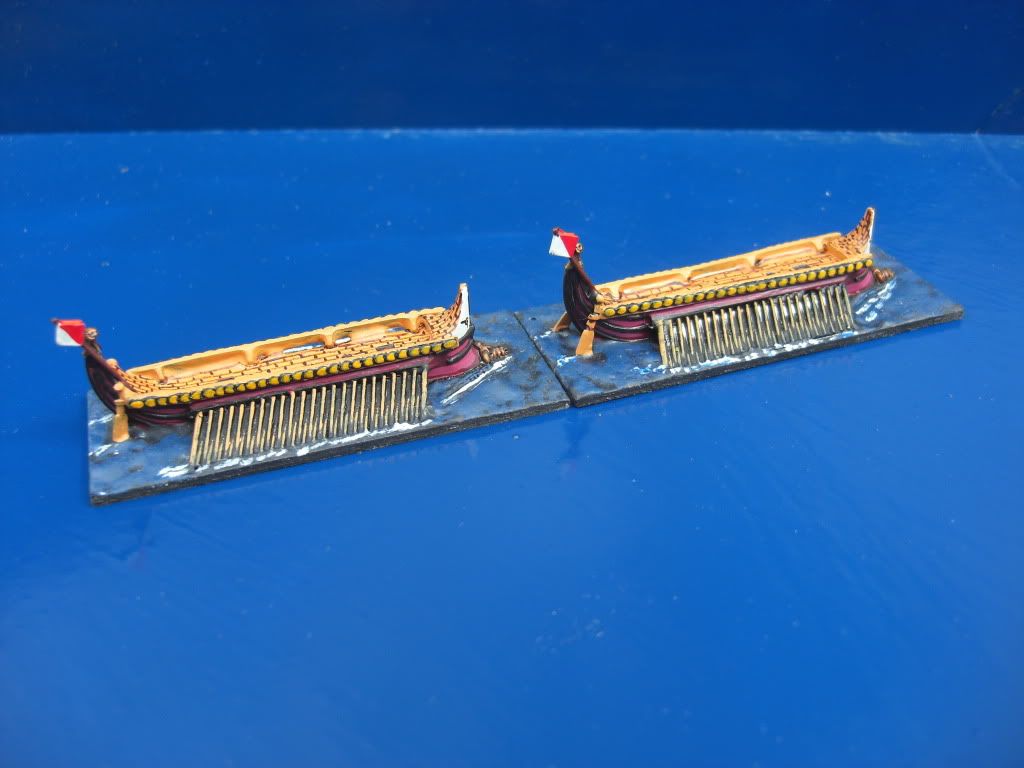
I've been gathering these Xyston http://www.scotiagrendel.com/Xyston/1:600 scale ships bit by bit for a couple of years and , like most things will get around to having enough for a game one day! They are fab models, very detailed, maybe a bit pricy but worth it.
The inspiration originally came from reading (I think) Don Featherstones  book 'Naval Wargames', he used this scale had rules and black and white photographs inside which looked great rowing round various home made islands bashing into each other! I like the scale, you can pick them up without needing tweezers and look good.
Have a look at this site, great stuff and what I'd like to get to in the end http://olicanalad.blogspot.com/search/label/Fleet%20of%20Battle
Here are the pictures:
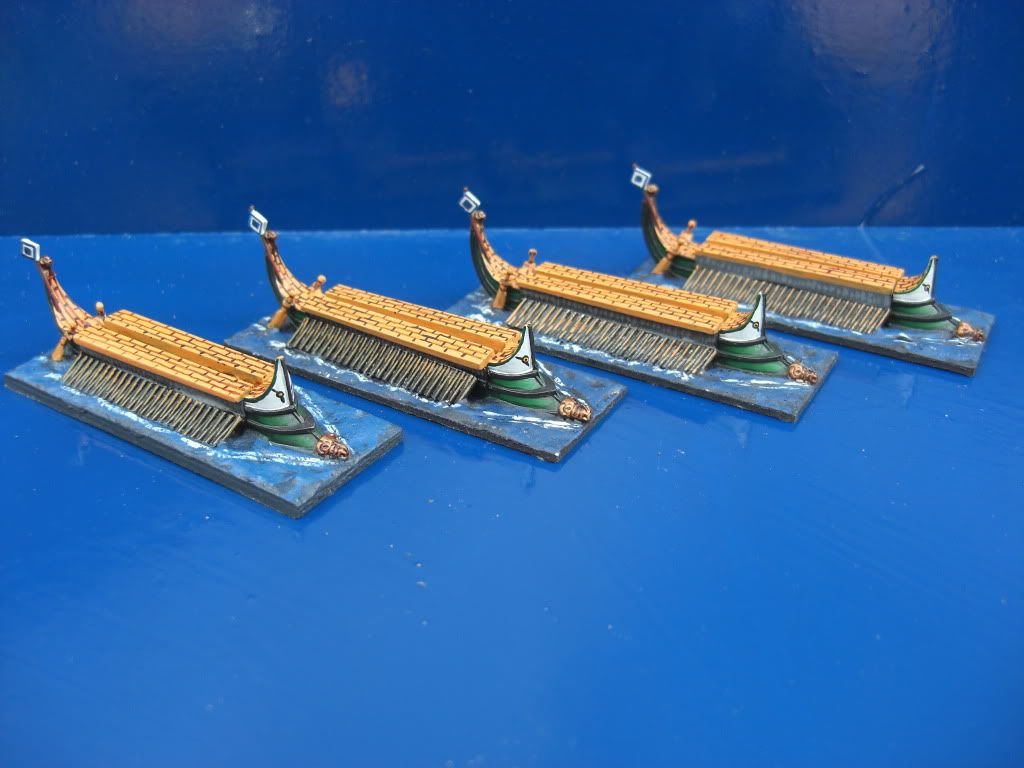
Greek Triremes
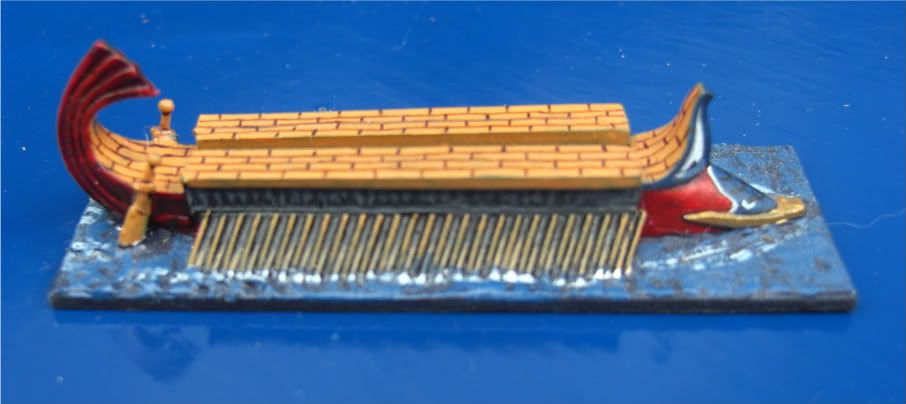
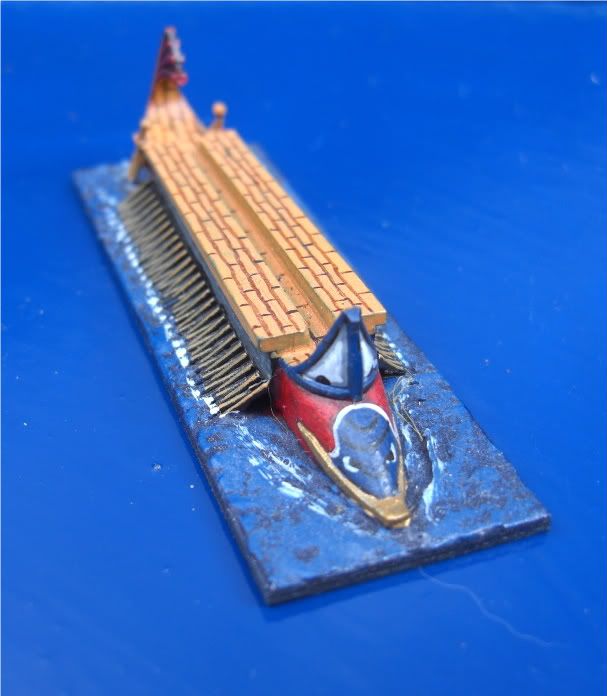
Phoenician Triremes.
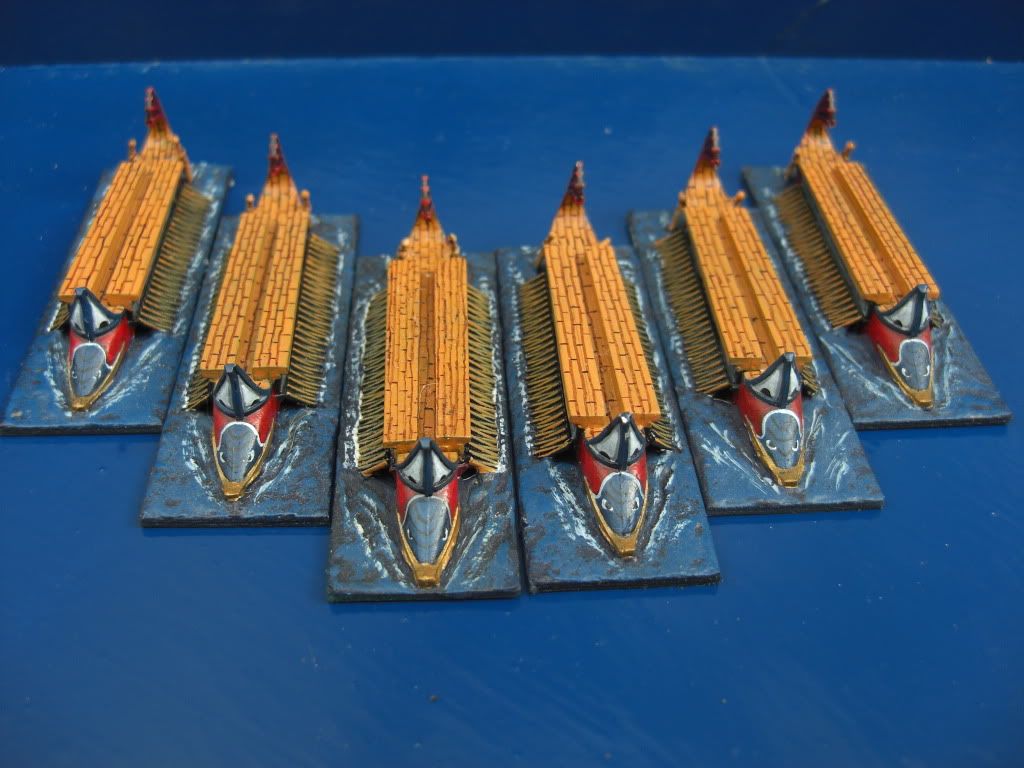
Phoenician Triremes & Quinqueremes.
Phoenician Quinqueremes.
The decking has to be ink lined in for the planking so that's a bit fiddly. Could do with about twenty per side, so a few to go!
I'll try to get the 10mm Ceasarian Romans up on the blog in the next few days.
Dave.

Thursday, 8 September 2011

Naval Gazing

Andy commented to remind me that the Durham show also took place in this area. Durham is a show that is smaller than the Reiver show in Newcastle, a real local show, but that's no bad thing the folks there are friendly and small isn't necessarily bad ( at least that's what my wife tells me!).
Anyway one of the years I went down Andy and some of his mates were playing a Russo - Japanese War naval game using some of his collection of 1,600 scale warships see; Old Glory Shipyard . It seemed to be a cracking game with expletives as well as shells flying across a 6' x 4' table. I must say that I did suggest that the lads should (as it was a sunny day) move the game outside onto the bowling green, don boater hats and use Fletcher Pratt rules. These were written by this Gent about 1940 Wikipedia and were on the 'Grand Scale', guestimating ranges and even with players using binoculars to spot types of ships!
I remember when I was young my brother (who has 14 years on me) using these rules with his 1,200 scale WW2 home made (out of balsa wood) ships. Preparation included finding out the tonnage of each ship, it's armour at various points and number and sizes of guns. You then had to put this info into a huge calculation to find each ships sinking point, as each hit from opposition gunnery would take points off the total. Bloody complicated but as it was all we had in the 70's it did fine and dandy!
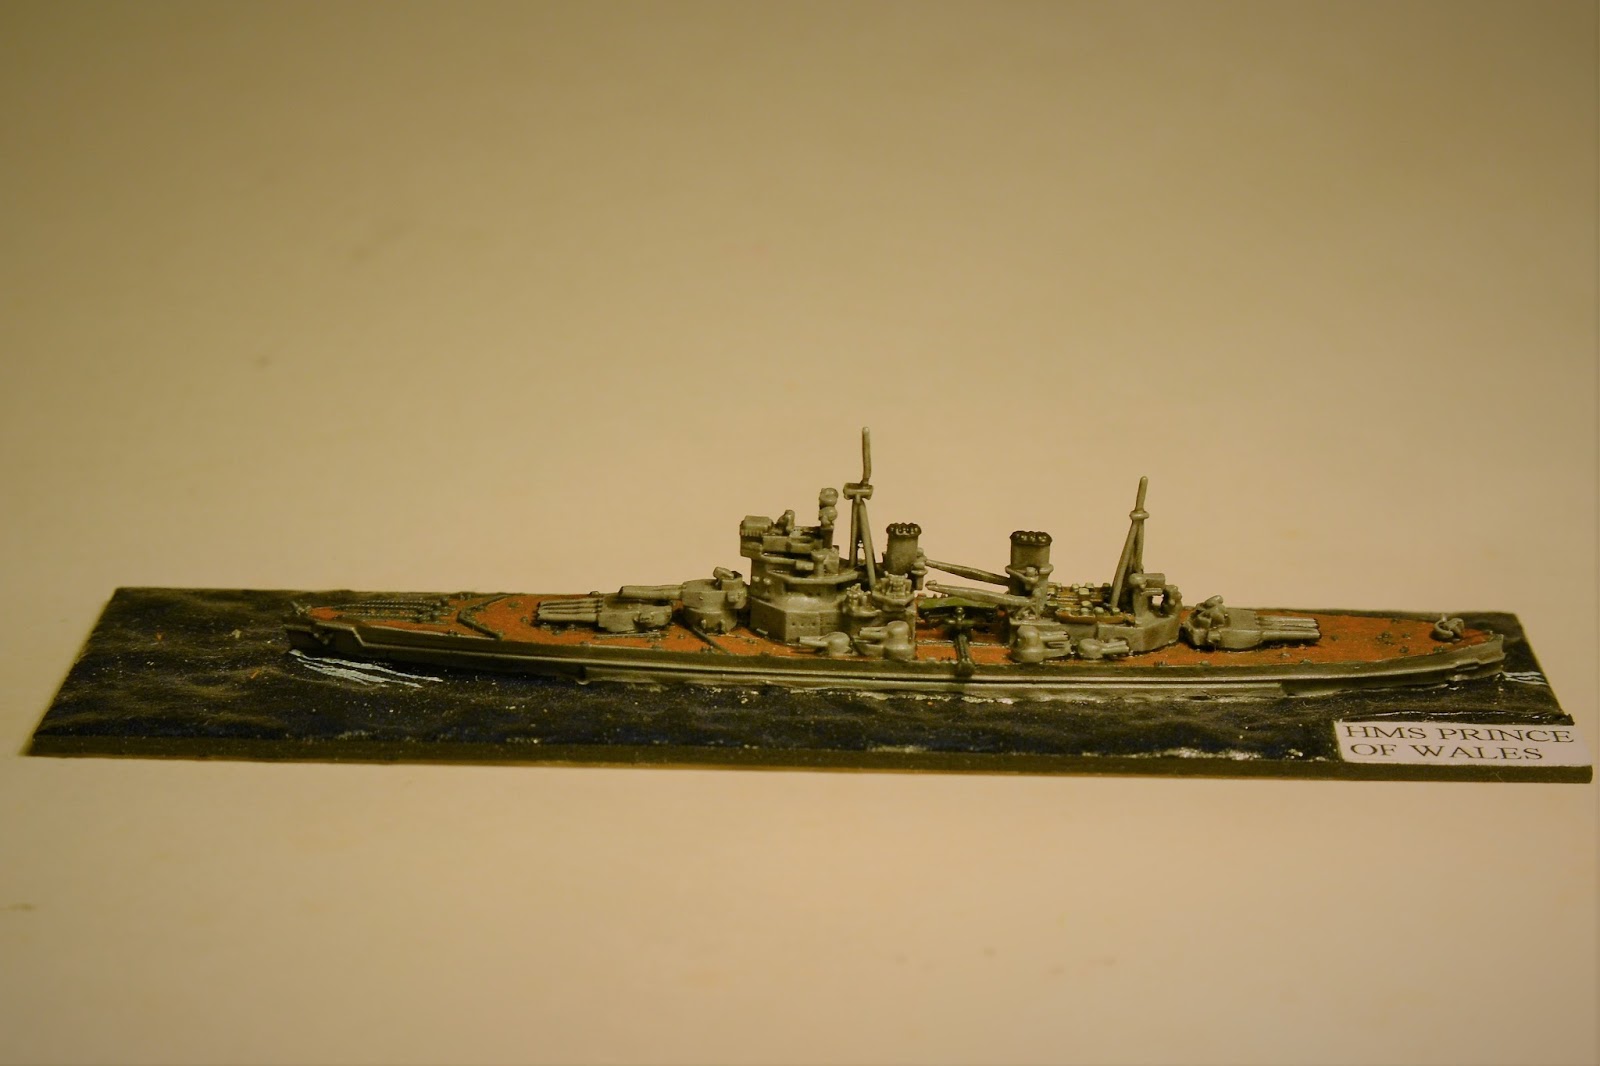
All a shallow excuse to put up the photos of the few ships I own, all GHQ 1,2400.

Bismarck


HMS Hood


Prince Eugen


HMS Prince of Wales


And also a couple of Napoleonic ships both Langton models:


Byeeeeee, Dave.