Welcome

Welcome to my wargaming blog,
I'm Dave and live in Morpeth, Northumberland in the UK.
This may or may not be a regular thing, we'll just have to see how it goes.

I am a painter/collector of figures first and a wargamer second. My thrill in this great hobby of ours is to place that final well researched & painted unit into the cabinet. The actual gaming with the figures is an important but secondary experience, we all like to win, but it isn't the be all and end all of it, being with good friends and having fun is.
Hope you will enjoy reading this blog as much as I will writing in it.
Just to remind the visitor to scroll down the various pages and click on 'older posts' to see more.
Dave.

Sunday, 14 June 2015

Functional terrain

I've thought about using hex terrain for a good few years now, particularly since we started going up to Micks and using his permanent table set up in his gaming room in the borders. The advantages are of course that you know precisely if units are in or out of range, where the flank of a unit is, how far they move etc, and hidden movement is easily recorded.
Conversely it doesn't look as good, there's no getting away from it, it doesn't. But everything is a compromise so there you go. I still have the more aesthetically pleasing board terrain pieces that I have used in the past if I want to make the game 'pretty'.
So, a step by step guide to making cheap terrain gaming mats.
I decided on 120mm hexes, again as a bit of a compromise. Each of the different periods, figure scales etc have different basing sizes, so 120mm seemed the most appropriate. This first photos show the hexes being drawn up on card:


Perspex placed over the card, the intersection points of each hex marked, and a hole drilled through:


Using a Unipaint oil based pen marker a dot is marked through the drilled holes onto the matt (in this case a £4.99 fake grass matt from Lidl).


Join up all the points to form hexes.


The table marked out.


Spare matting sprayed with brown aerosol to differentiate it from the base material was then marked up and cut into various sized hexes which would slot together to form hills.
terrain and figures added to give an idea of how it will look:


In time I think I will replace the matt hills with thin MDF and the lichen woods with something more permanent. Roads and rivers, don't know yet but I may go with fine coloured sawdust which can be sucked up with a clean car vacuum and reused. Other than that, buy the flexible rubber roads/rivers and cut them to the hex sizes.
Maybe the white hex markers could do with toning down, I might go over them with a green marker, test it on a small piece first though! By the way, don't underestimate how much work this involves, it does take time.
The pics show 10mm Marlbrarian figures.
Next I think I'll put up pictures of the re based Greek and Macedonian ancients, all put onto Impetus bases.
Dave.

Wednesday, 29 April 2015

I just hope they fight as well as they look

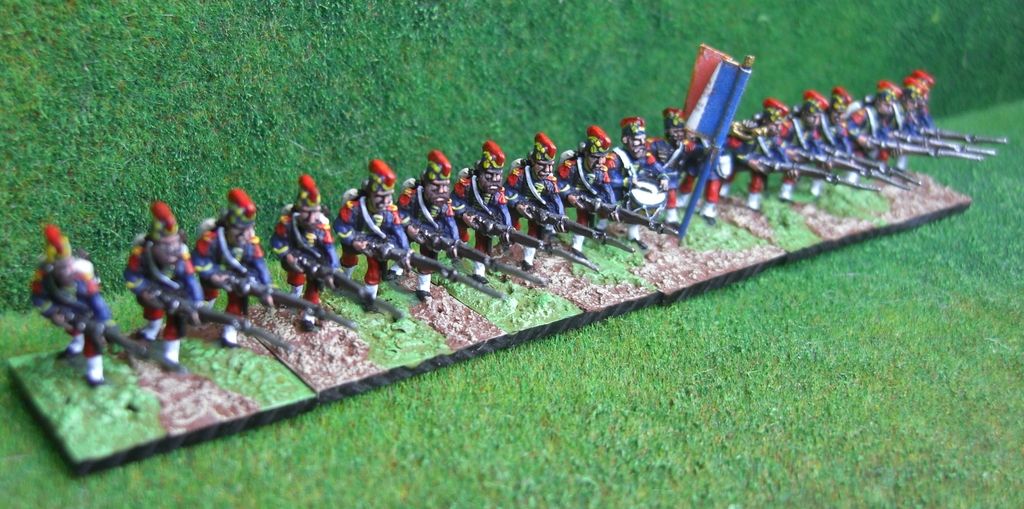
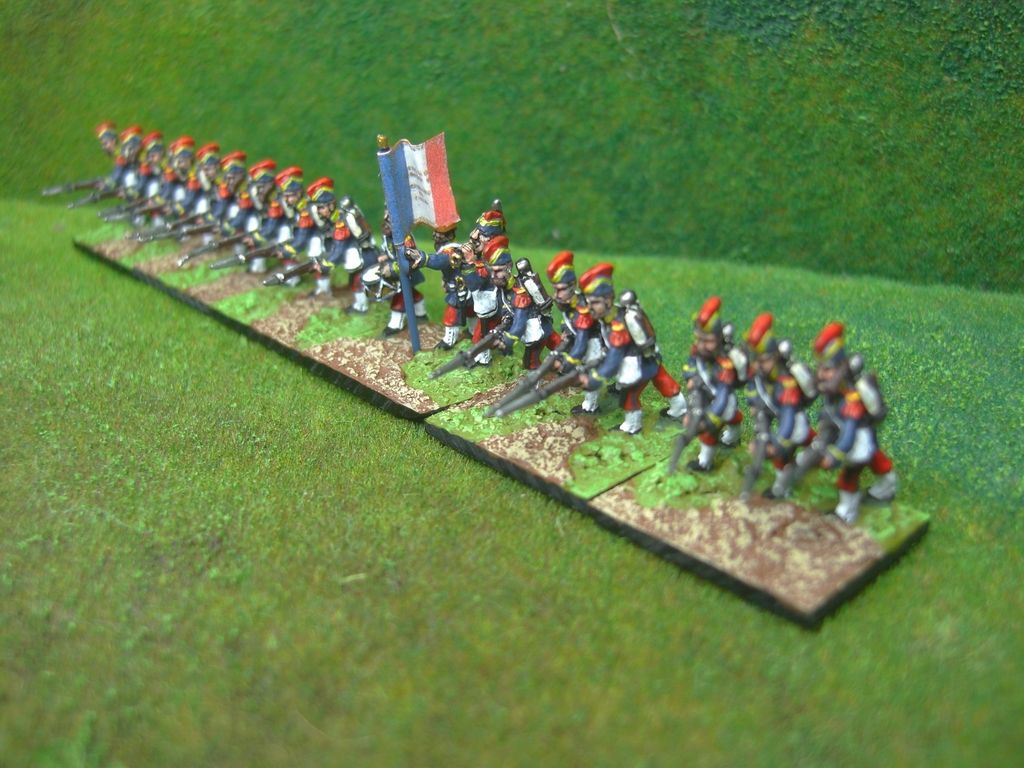
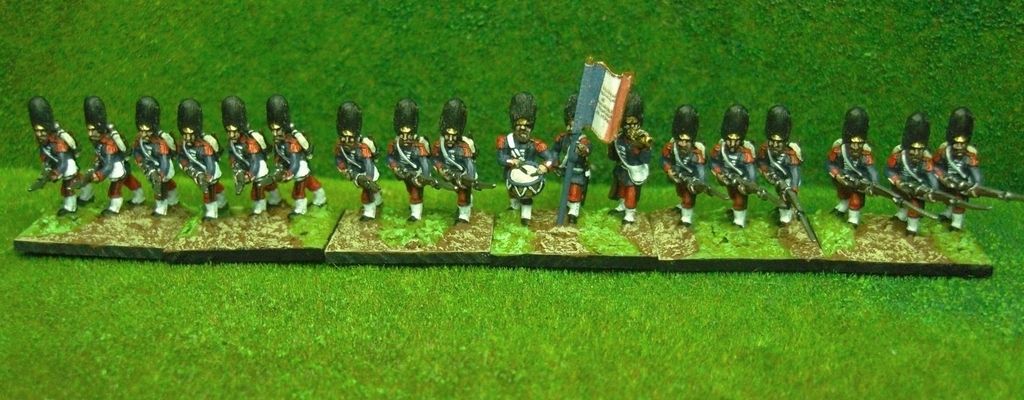
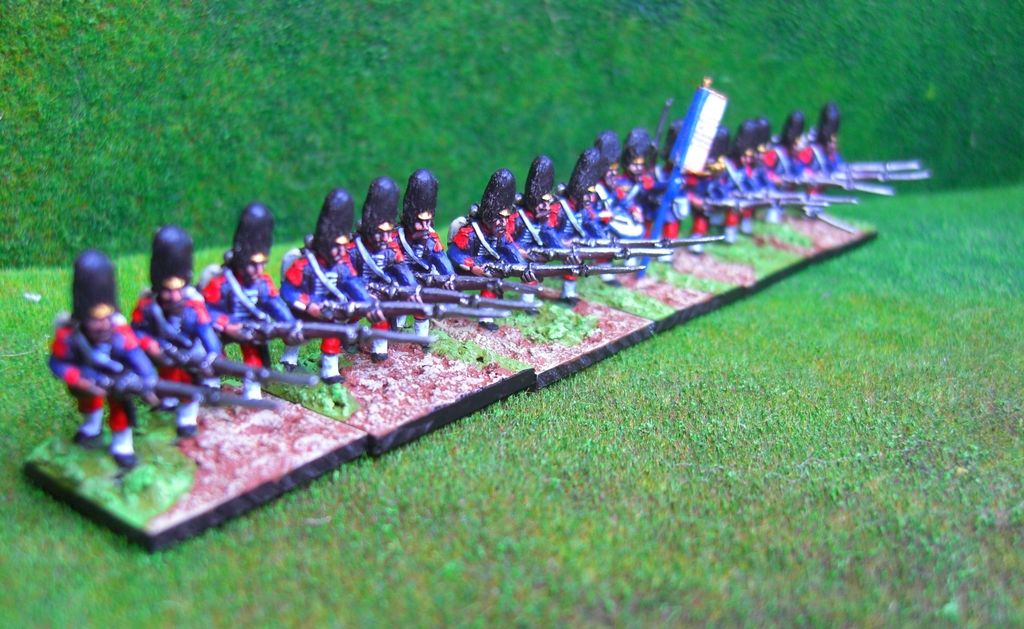
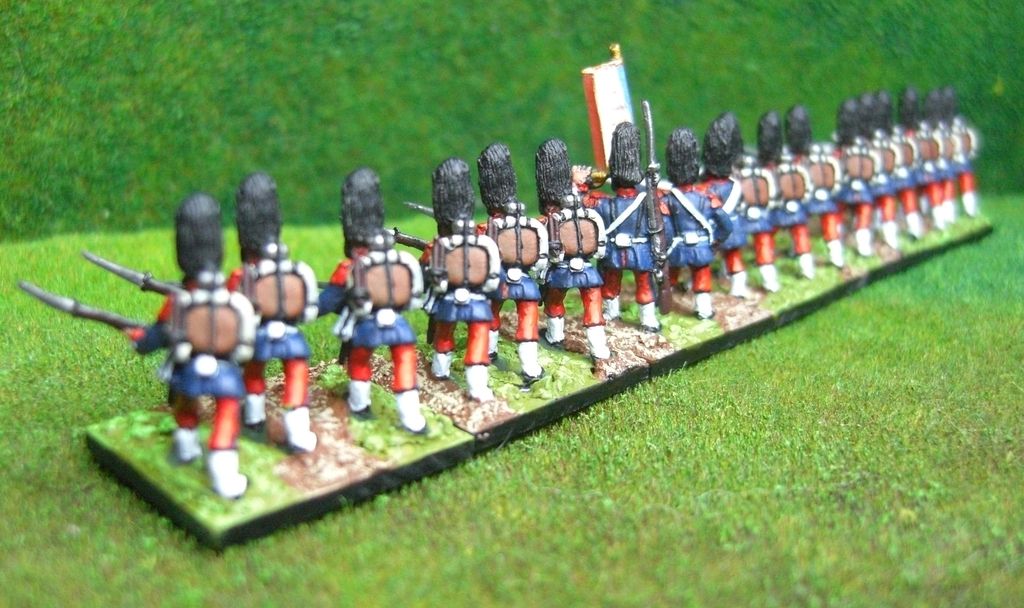
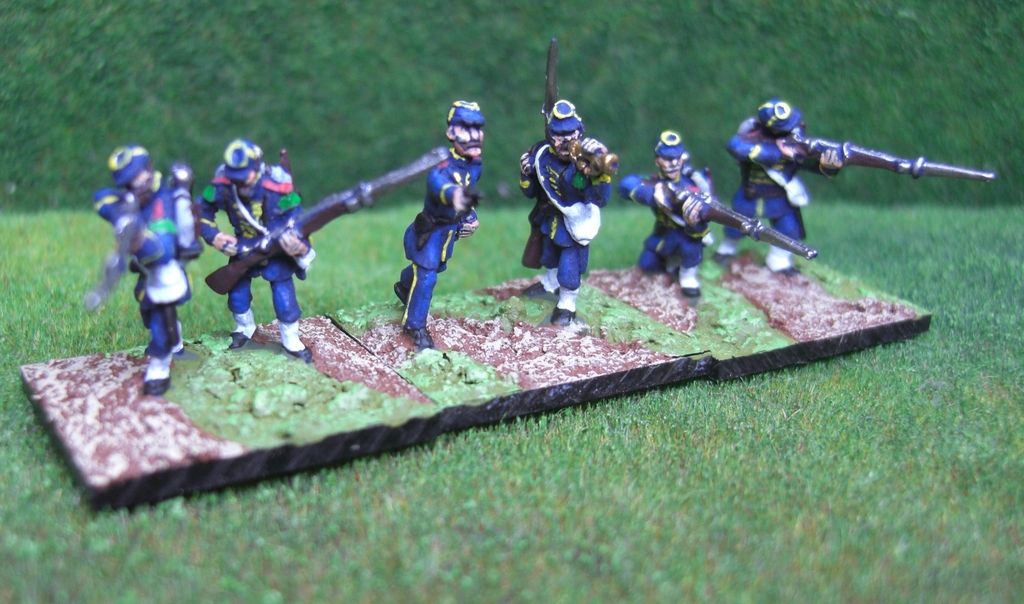
Well, a foray back into painting my 15mm Franco Prussian War figures, first time in a couple of years. The motivation is to have the French Imperial Guard corps completed by around about Sept this year for a large game at Micks up in the borders so at least a start has been made.
Have a look at the various battles, units etc Here
This does pose a question, a few people drop in and out looking at this blog some put their comments on, some do not. Their privilege of course.
What I would be interested to know is how many of you guys and girls out there paint up figures, units divisions etc which you know beforehand will see only limited time on the gaming table?
The French Imperial Guard of the FPW period are a prime example, Bourbaki (their commander) standing by with them in reserve for most of the engagements. These pretty lads will of course see action in non-historical actions, but if Gravelotte etc is re-played then the corps will remain in reserve for a good few turns and then will only move on a '6'. Is it worth the painting effort, Comments?

Here's a few pics.

One battalion of Guard Chasseurs:


1st Voltigeurs of the Guard:


 1st Grenadiers of the Guard:

As stated before these figures are from Outpost, one of the most comprehensive 15mm ranges for this period.
Dave.

Sunday, 12 April 2015

French reinforcements

The overdue 15mm French reinforcements have finally been compleated, 108 figures to be precise. This will provide a balenced force to oppose the Austrians here (don't worry Andy, I'm not saying the army is compleate, I know none of us ever really get there!).

Three battalions of the French 17th Rgt:


The infantry:


The cavalry:


Next, well I could do with re-organising my 15mm Franco Prussian war stuff as I need to prepare for a large reinactment of Gravelotte - St Privat later this year. There will be a bit of painting involved but I need to see where I am figure wise first.
Dave.


Sunday, 8 March 2015

законченный - that's finished in Russian.

Thank gawd for that. Hey don't get me wrong I'm not sick of painting, the're lovely figures and I've enjoyed doing them, but damn I want to paint my own stuff again. The money was going to be put towards loads of lovely wargames stuff but as usual life gets in the way of petty things like playing with toy soldiers.
My son anounced that he is getting married sometime in 2017, so time to get saving towards making a contribution. My three lads are well up and getting on with their lives but for any young parents out there, don't think you are ever going to stop paying out, not moaning just stating a fact.
Right the final photos of Tom's SYW Russian 15mm figures (see previous posts for details).

Dismounted Horse Grenadier/Dragoons:


Gruzinskiy Hussars:


Moldavskiy Hussars:


Finally a couple of pictures of the completed army in Tom's boxes:


Now on with some 15mm French Nap infantry, horray!!!
Dave.


Monday, 26 January 2015

Painting a horse regiment.

As I was painting up one of Tom's 15mm SYW cavalry regiments (in this case the Russian Prince Feodor cuirassier rgt) I thought I may as well put a step by step record of how I went about it on this blog. Not that I would dream of telling anyone else how to paint, this is just how I do it. It is a method which I find convenient with mass painting large numbers of figures (particularly 15mm), it give a good standard of figure at minimum effort. This is not to say I don't care about the quality of figure I paint, in actual fact I could get them to a higher standard than this but it would take considerably longer and I would have to ask a higher price per figure than I do. It's all a balancing act.
The figures are Old Glory 15's, the paints vary so much I can't be bothered to put them all on here. I paint using a magnifier lamp and cut the brushes I use short in order to be able to use them without knocking against the lamp while I paint.
By the way can anyone point me in the way of good quality fine paint brushes, I use Games Workshop but I think their standard of brush is going down the pan. Any suggestions please?
The figures.


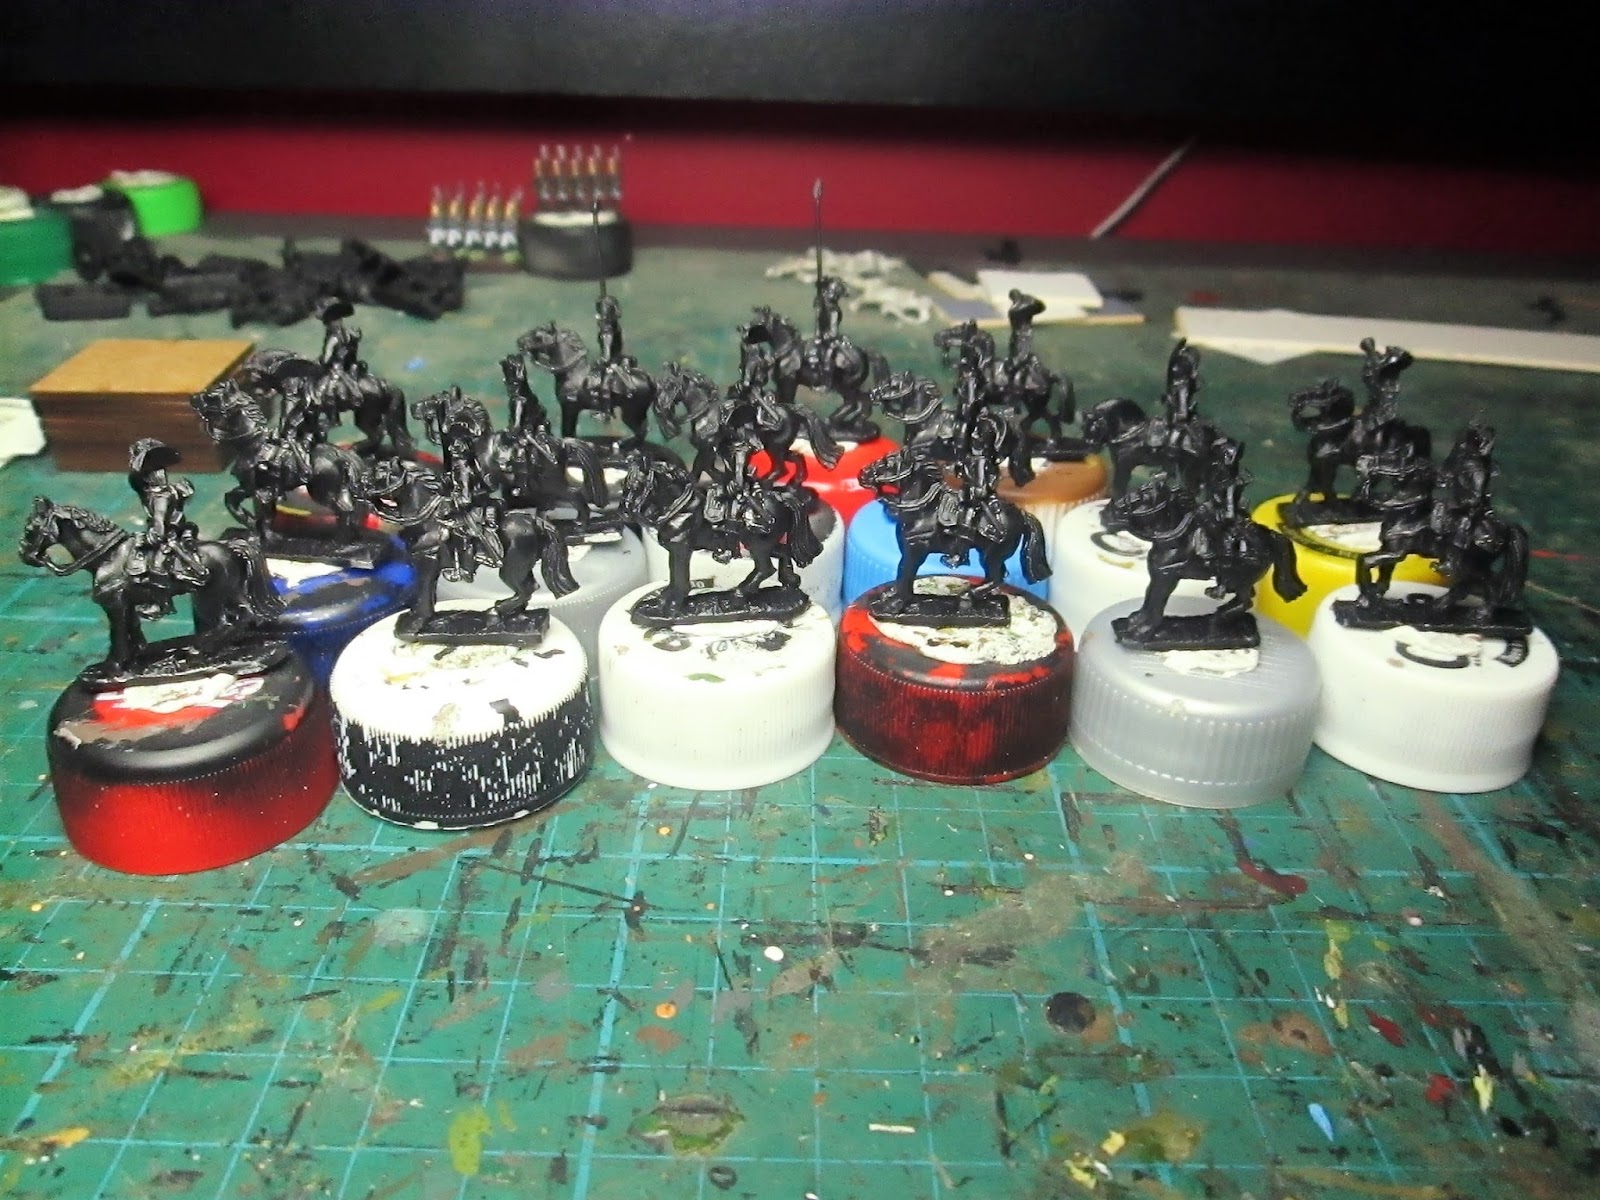
The 16 figure rgt cleaned, undercoated black and stuck onto bottle tops with white tack (much better than blue tack). I always black undercoat, if you do miss bits while painting they look like shadows, white will stand out like a sore thumb.

An individual figure.


The horses with their basic colour and the reins etc painted on.


A trumpeter, the horse has a lighter shade.


This pic shows the horses finished. They have been washed using the Games Workshop washes, the only ones I really use are brown, black and flesh. They have fancy names but that's the colours they are. Manes and tails dry brushed and a little bit of white blaze on a few of the horses faces. The washes transformed my painting, speeding things up considerably.


This shows the cavalrymen painted in their base colours, red facings etc, off white (don't try washing over pure white, it looks crap) jacket, gloves, trousers and face. The face will be washes with flesh, the rest with brown.


With the washes added.


Leather cross belts, gold braid, white hair, sword and carbine painted.


A trumpeter.


The regiment based (green flock and brown ballast), complete with flags (Maverick Models), always paint the edges of the flags the appropriate colour so no white is showing.
Make sure when you are putting the grass flock on that you gently run your thumb upwards so that the grass doesn't end up hanging over the side of the base. This gives a 'clean' edge to the base and makes a heck of a difference to the finish. Finally the figures are matt varnished with spray.


So that's them done, not top class figures but not bad considering the pace at which they needed to be done to finish the army off. Only five Grenadier battalions, two Hussar regiments and one artillery battery to go Tom, maybe another month!
Dave.