Map 1. This was the initial set up with the Prussian V and XI Corps (Neal), Bavarian II Corps with Baden and Wurttenburg Divisions in support (Mick) the C in C being Prince Frederick Wilhelm. The French (myself), a strong 1st Corps and two weaker corps 3rd and 5th, their C in C being Marshal Mac Mahon.

The aim (which from my point of view went out of the window pretty quickly as I was happy just to hang in there) was to get the French supply convoy from the road at bottom left of the map, round the large hill and off the other road towards Paris.
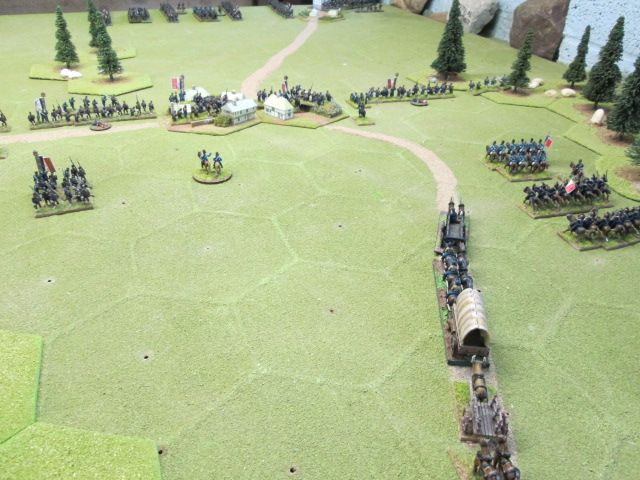
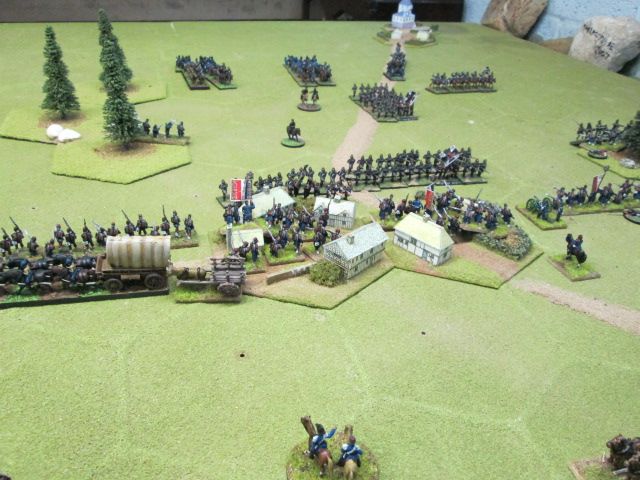
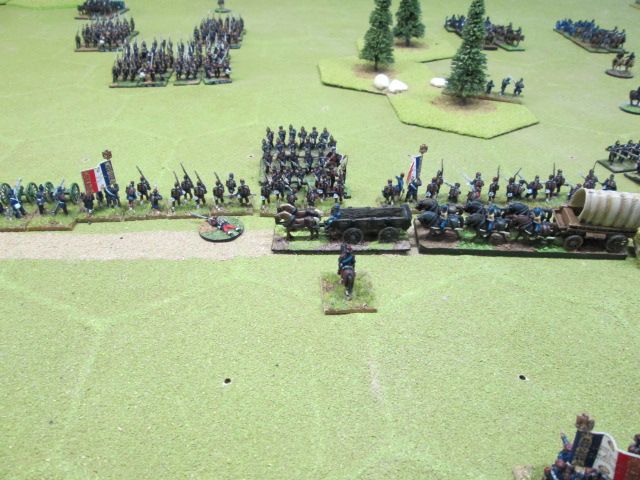
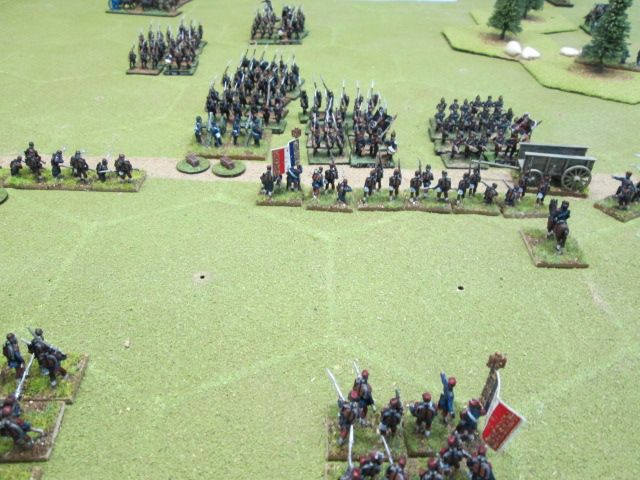
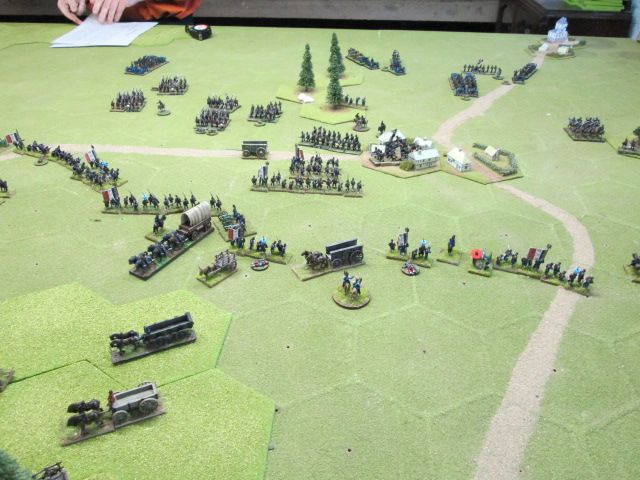
The French convoy with 3rd Corps defending the village and the Prussian V Corps coming on in the background (the right hand side of the map):
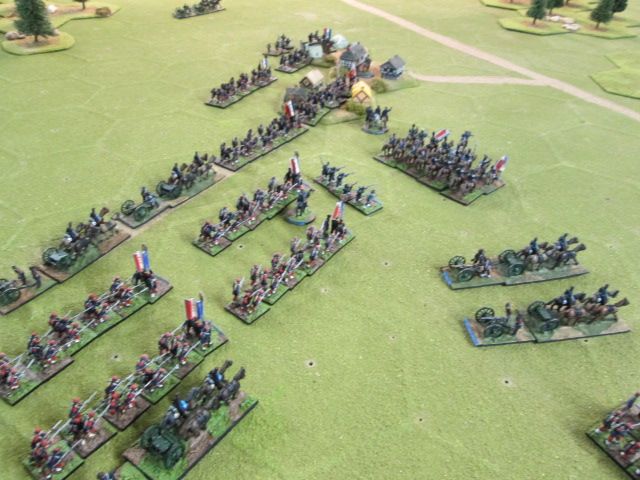
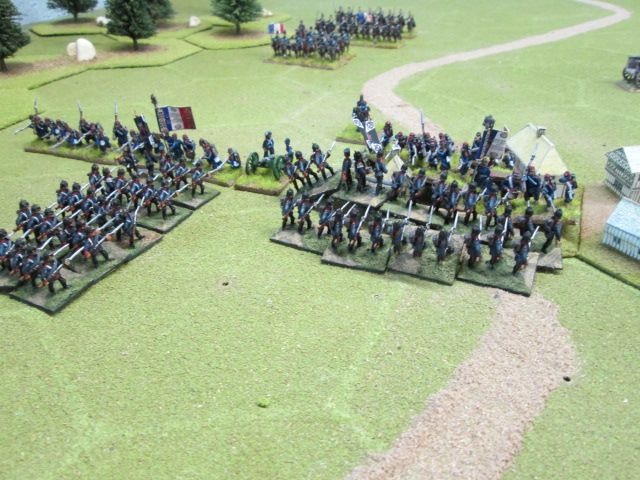
View looking along the rear of 3rd Corps:
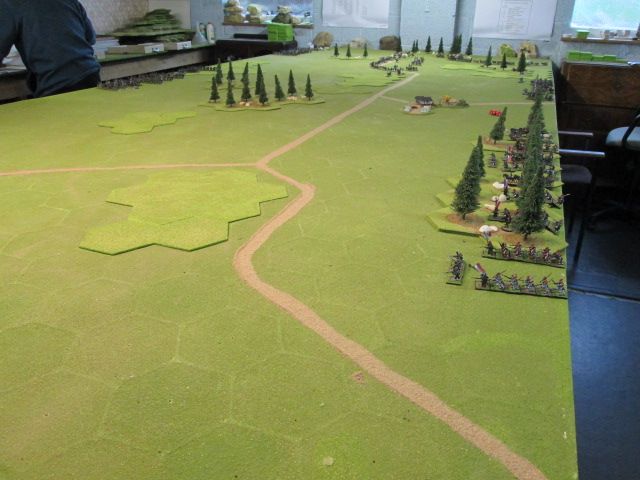
A photo looking along the line showing the French 1st Corps coming onto the table on their left flank:
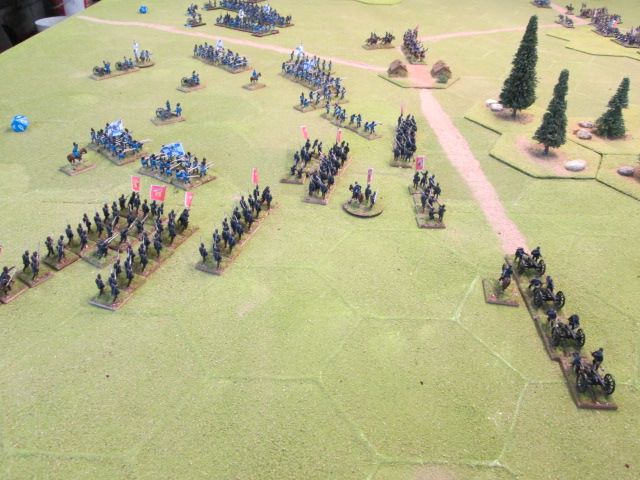
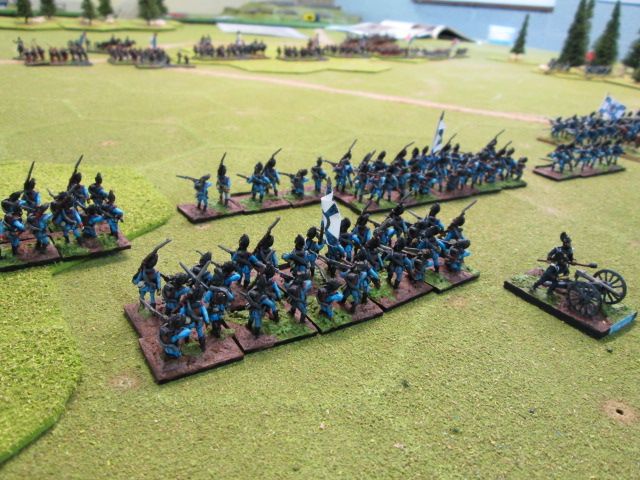
Bavarian II Corps with Wurttenburg divisions in support sorting themselves out before advancing towards the French flank:
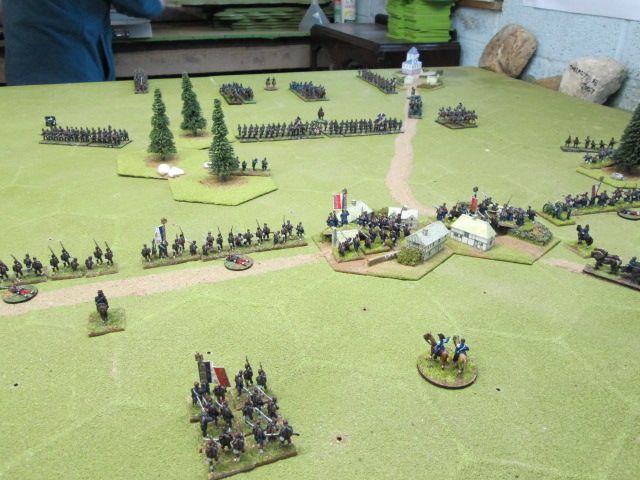
Map 2 shows the advance of the two armies with the French 3rd Corps on their right holding the road open for the convoy to pass by:

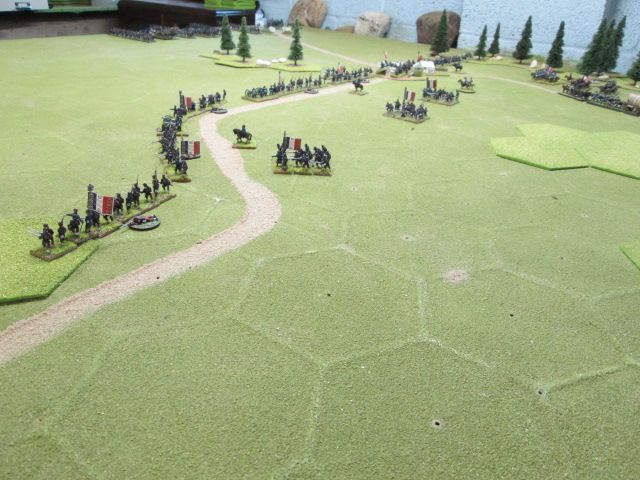
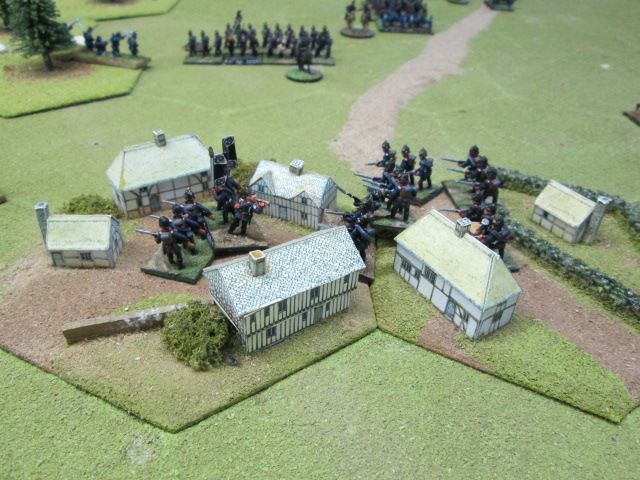
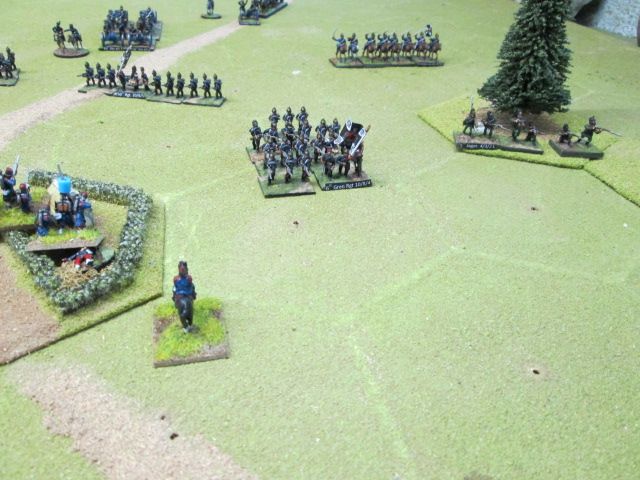
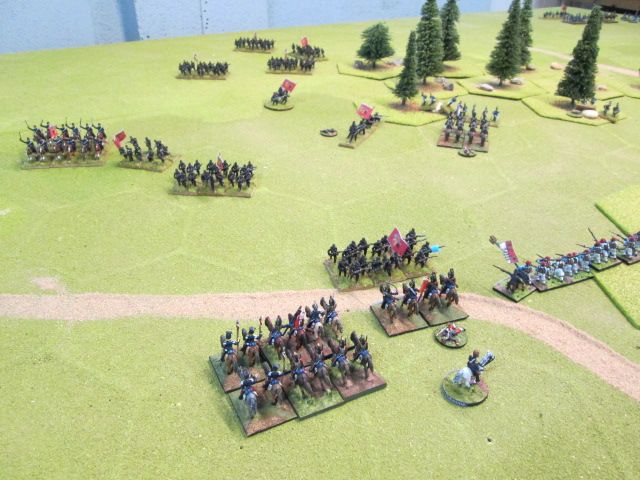
The Prussian V Corps advance towards the French 3rd Corps defending the road with the convoy passing through just behind (an adventurous unit of French Chasseurs occupy a wood to their front, they would prove to be a nuisance):
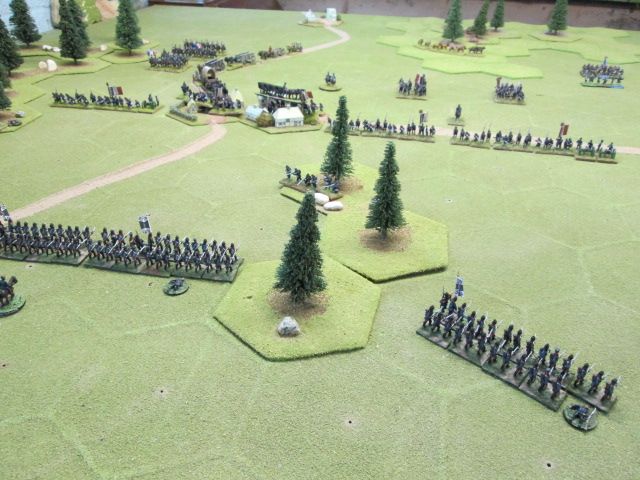
From the other side of the table:
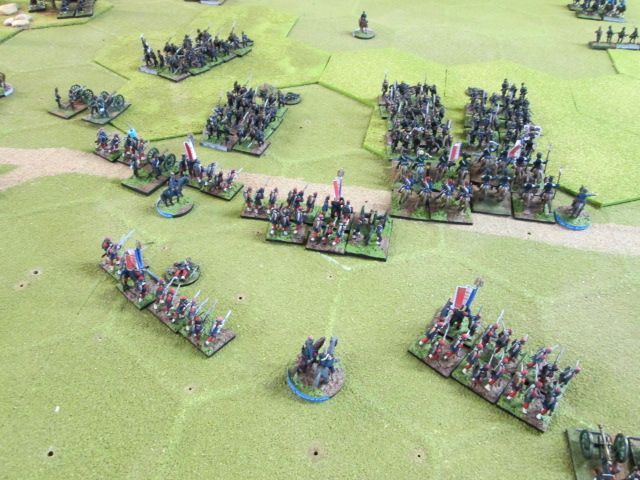
The French 1st Corps advance towards their Bavarian opponents:

The French center, 5th Corps:
Map 3. Prussian V Corps engages the French 3rd Corps to their front (red arrows) attempting to clear the road and thereby prevent the convoys progress. In the center both sides advance, and on the French left the Wurttenburgers swing around the wood to outflank their opponents:

Neal's Prussian V Corps pile in to the village taking heavy casualties from the French Chasspot rifle on their way. This attack was repulsed, partially from the intensity of French fire but also as Neal admitted because he threw the Prussians towards the French in supported line instead of column thereby loosing the tactical doctrine bonus due to the Prussians when in this formation, he would quickly learn!
The next attacks went in in column, still taking casualties but weight of numbers would count:

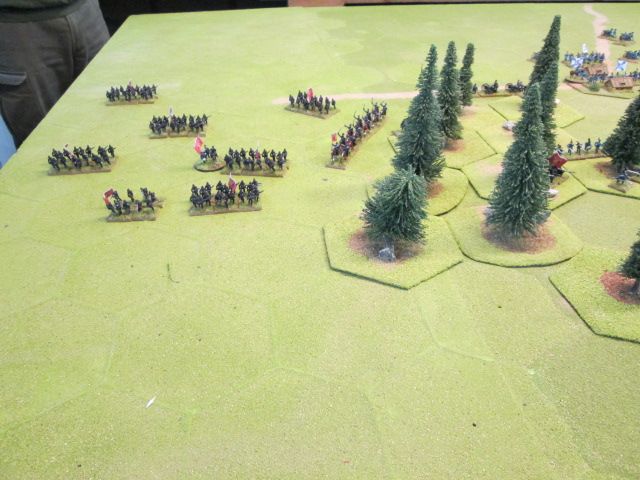
The Wurtenburgers on their flank march:
With the Bavarians pinning the French 1st Corps to their front:

Map 4. The French 3rd Corps collapses under the weight of numbers and with Prussian V Corps Krupp artillery giving tremendous support flees to the rear. Two cavalry divisions (one from each side) charge infantry to their front.

The Prussian breakthrough on their left:
The taking of the village (notice those brave French Chasseurs still in the woods behind):
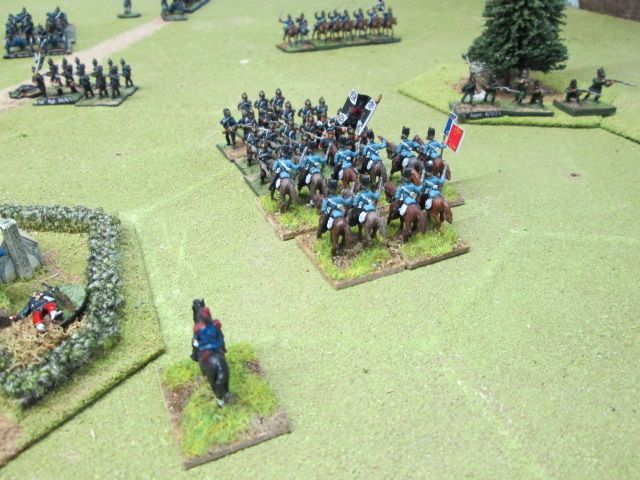
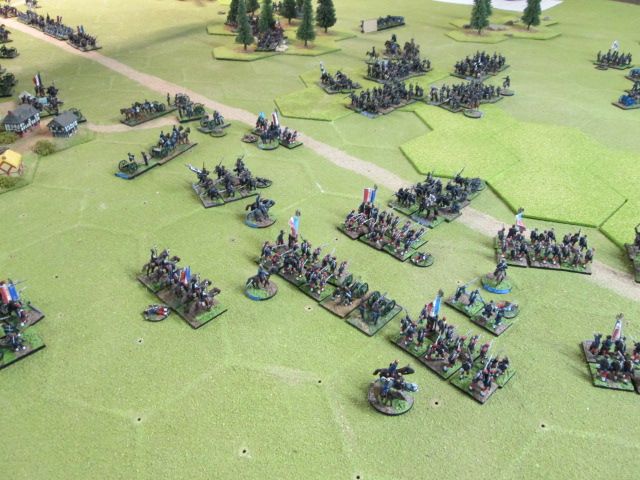
The Prussian cavalry charge in the center:
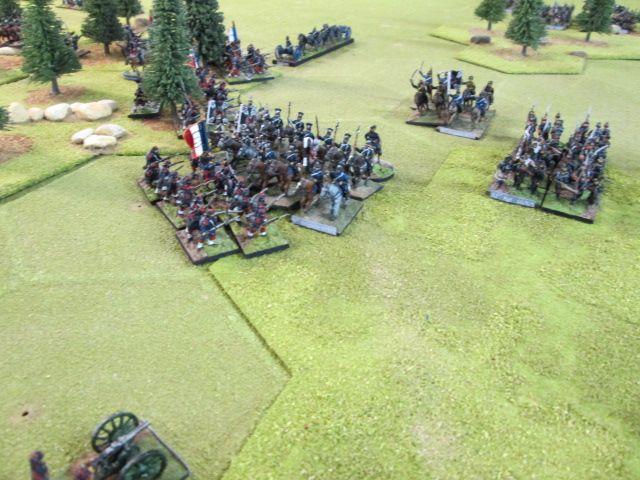
A suicidal charge by French 3rd Corps cavalry fails utterly resulting in the inhalation of over half their number! Scotty was not happy with me doing this as he'd just finished painting these for the game. First time out syndrome!
Now you see em:
Now you don't:
All of these cavalry attacks ended the same way, historically accurate actually as (particularly the French) tended to throw cavalry in desperate last ditch charges, always with the same result. End of an era!
Map 5. Marshal Mac Mahone (me) tries desperately to shore up the French right, however it is in the center that the decision will take place. The Prussian XI Corps, even without it's cavalry support crashes into the French 5th Corps while the South German flanking attack (with Mick in charge) goes ahead.

The French 5th Corps in the center of their line cannot stop the Prussian XI Corps from over running them, even with artillery support:
The final French reserves are thrown in but they are still only facing the XI Corps 1st line, many more Prussian regiments to come!
On the French left light troops push through the woods and Wurttenburgers press the flank:

Map 6.The end game, the French right and center have collapsed and their right will be hard pressed. A definite victory for the Prussians much to Mick and Neal's delight.

The rules were Fire and Fury Francese, here an adaptation of Fire and Fury. Each unit you can see in the photographs represent an infantry regiment, each cavalry unit is a brigade and each artillery model is a battery.
The maps were drawn using Battle Chronicler http://battlechronicler.com/ which it has to be said took me some time to get my head around but considering my skills with the computer are limited to say the least I think have come out quite well.
As always a cracking time was had by all, so much so that Mick is thinking about raising an army an is reading up on the period. Good stuff even though I lost.
If you want to read another report with pics of the game see Scotty's blog here
Hope you enjoyed the write up,
Dave.