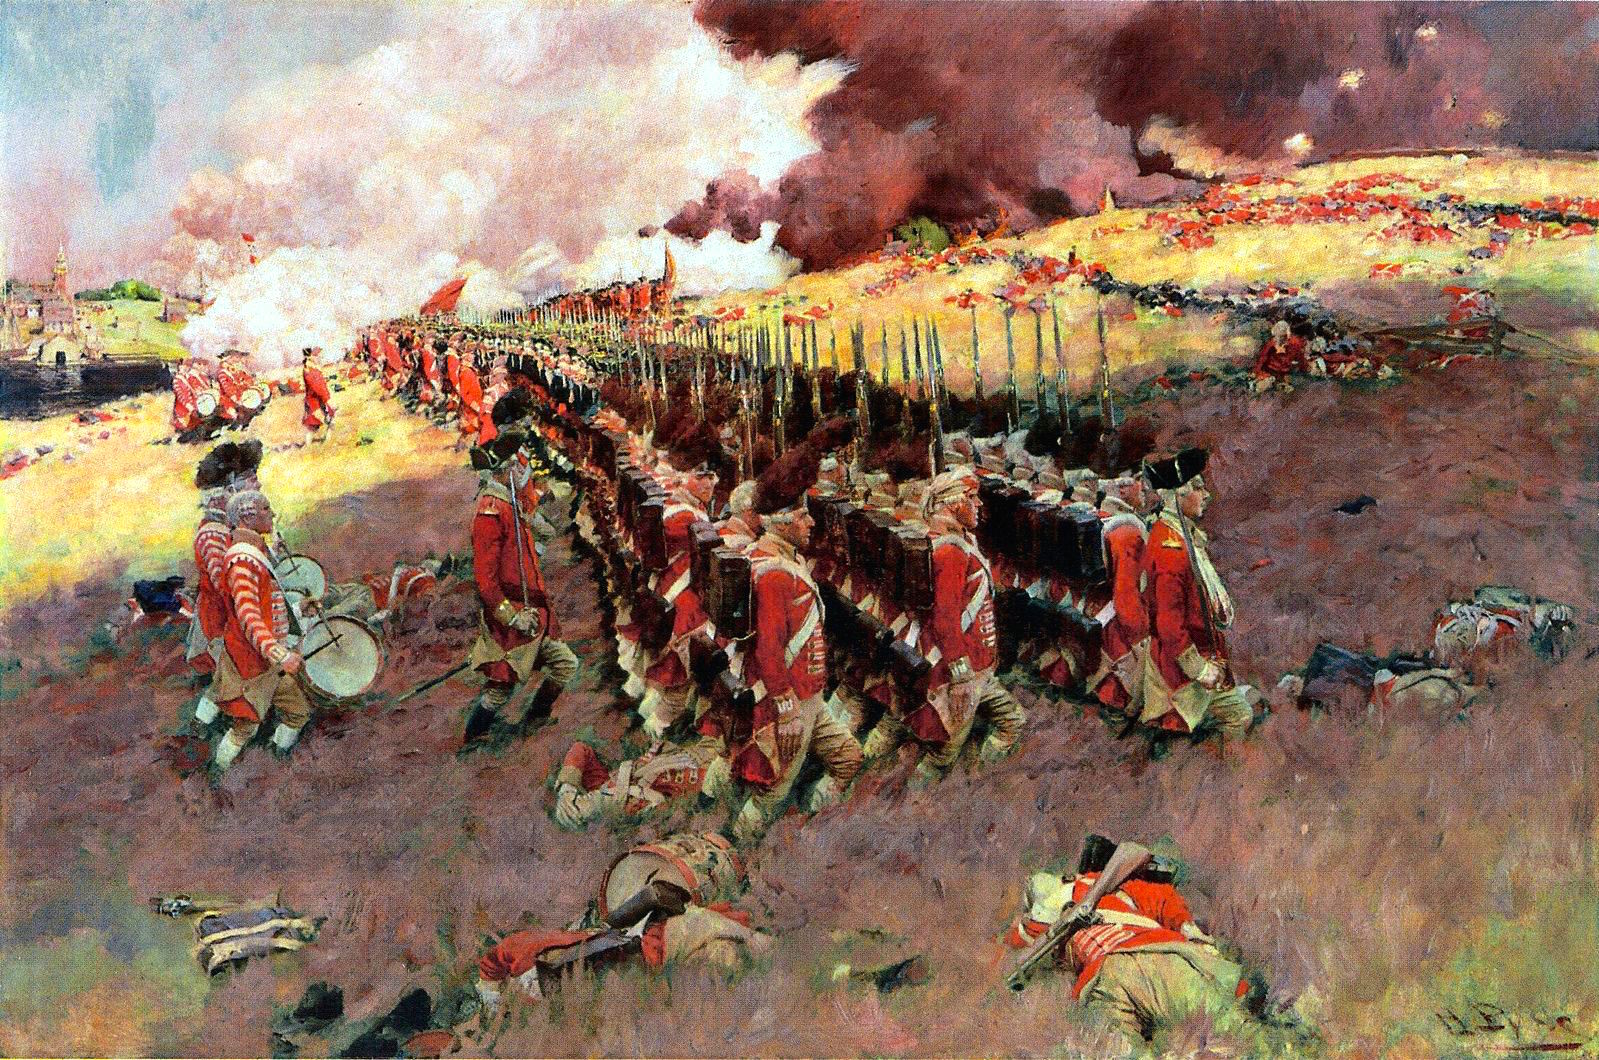
After finally getting the garage back from generally accrued clutter Scotty, Neal and I finally managed to get together for a re-fight of the battle of Bunker, or more accurately Breeds Hill in 1775.
We used the very good British Grenadier set of rules, these have at their heart a system whereby a unit will accrue potential disruption points through movement, an the exchange of fire. If a unit suffers three (accumulated) hits from musketry/artillery fire then each further hit will then cause an actual casualty. The author states that casualties from musketry were, in the main, light during this campaign (though of course there were exceptions) but that the disruption system recreates the moral disintegration of the unit. Disruption points affect moral and firepower in a negative way but can be rallied off with varying ease depending on whether the unit is Elite down to Militia class.
Basically don't try to maneuver Militia around or they will as like as not accrue so many disruption points that they will be useless.
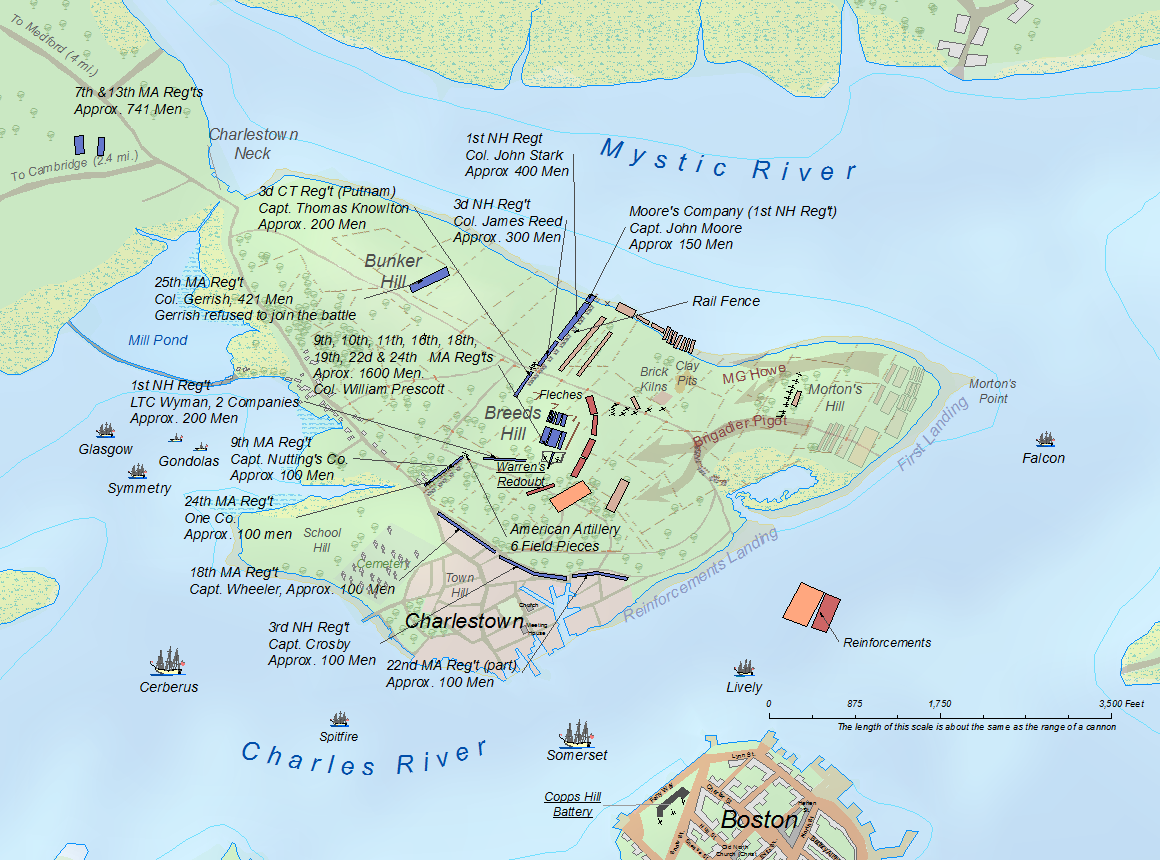
As can be seen above the Americans occupied and fortified the 'Charlestown neck', basically the British decided that the rebels were scum and could be thrown out of the fortifications after a swift bombardment and a frontal assault.
The battle field as set up, the American fortifications were a bit of a last minute cobble together job using bits of foam packing!
Scotty took the Americans, mostly Militia with some 2nd line Rgts thrown in, while Neal and I had the forces of the King.
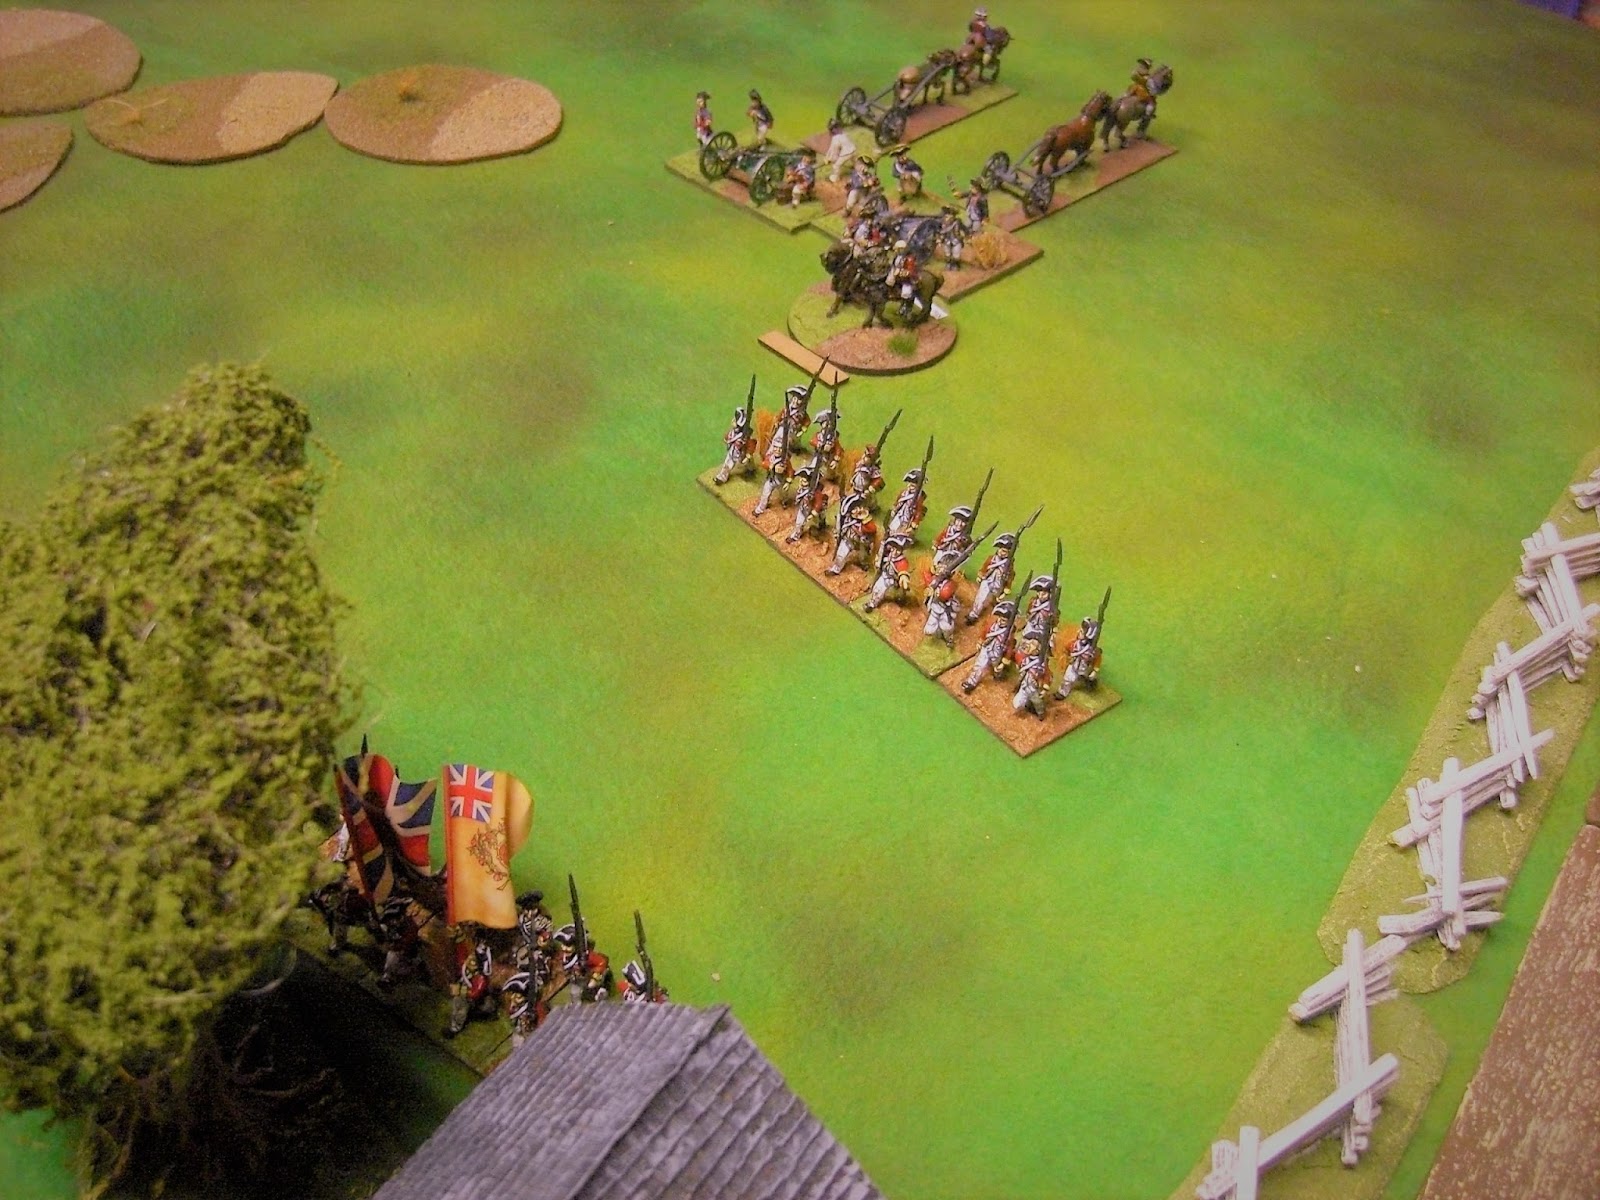
Pigot's brigade (me) on the British left. I could have marched up the road through the outskirts of Charlestown (before turn 9 after which the navy set the town alight) but thought to play it as the Brits did and drive them off from the front.
Howe's brigade (he was also CinC), commanded by Neal on the British right with the lights to the front.
The American (Scotty) defences on Breeds Hill.
American militia lining the rail fence,
and the Fletches.
My brigade closes with the American defences suffering casualties from both skirmishing and artillery fire. It was only a 3pdr, but it was a nasty little sod!
Neal's brigade decided to bide their time and see how things developed on the right, this delay would prove costly in the long run.
Things were looking good however as my brigade chased off the American gunners and broke into the defences.
The British 6pdr guns were finally being dragged into a position whereby they could do some damage. The British boats had sent over the wrong sized ammunition and the battery couldn't open fire till game turn 8. Bloody navy!
Situation on game turn 8 out of 16 when darkness set in, Neal's troops getting into position on their right.
This was the crunch combat on this flank, Scotty's American 2nd line Rgt moves forward to contest the British assault, the Brits automatically accrued 2 disruption points by climbing over the breastworks, this was to be the difference with the Americans throwing the British back.
Reinforcements, but too late?
Howe's (Neal) assault stalls in front of the defences.
The situation on turn 10, British artillery deployed and starting to do some damage, but one assault thrown back with the other reluctant to go in, will the grenadiers make the difference?
Lt General Howe.
Howe's assault goes in and pushes the American Rgt back.
On Scotty's right my British have had enough and fall back awaiting the reinforcements, but Scotty decides to sod off with his piddly little gun anyway!
The game ended with night falling at this point, turn 16. It was an American victory as the British were required to take the fortifications but to have also inflicted more casualties on the Americans than they suffered themselves. The casualties were heavy for the British who I'm sure will have a bit more respect for those rebellious fellows in the future. Well done Scotty.
This was fought over three evenings (one per week), the big advantage over fighting it at the club where everything must be packed away each night.
Back to re-basing those Macedonians, bugger!!!
Dave.


that piddly little gun was worth saving. A very enjoyable game.
ReplyDeleteHello!
ReplyDeleteVery good.
Your reconstruction of Bunker Hill is inspiration for me to continue my namesake project.
Congratulations to the beauty of the soldiers and photographs.
Hi
Simmy
Great report! Love the photos and the troops look awesome!
ReplyDeleteThanks lads it was a very enjoyable game, particularly as it pretty much followed history as it did.
ReplyDeleteDave.
Great looking game - lots of action going on.
ReplyDeleteWarfare is a fascinating subject. Despite the dubious morality of using violence to achieve personal or political aims. It remains that conflict has been used to do just that throughout recorded history.
ReplyDeleteYour article is very well done, a good read.