Welcome

Welcome to my wargaming blog,
I'm Dave and live in Morpeth, Northumberland in the UK.
This may or may not be a regular thing, we'll just have to see how it goes.

I am a painter/collector of figures first and a wargamer second. My thrill in this great hobby of ours is to place that final well researched & painted unit into the cabinet. The actual gaming with the figures is an important but secondary experience, we all like to win, but it isn't the be all and end all of it, being with good friends and having fun is.
Hope you will enjoy reading this blog as much as I will writing in it.
Just to remind the visitor to scroll down the various pages and click on 'older posts' to see more.
Dave.

Sunday 12 October 2014

Re-fight of the 1st battle of Bull Run 1861

Been a while but I've been quite busy on the painting front, just not put anything on here!
A few more WW2 ships done, a good start on 10mm Nap Russians for 1812, some final additions to my 15mm Spanish Peninsular and painting vast numbers of 15mm Russian SYW for a mate (this will take till about Feb to complete), so lots to put on eventually.

So with not much actual gaming going on Neal, Scotty and myself were invited to Micks place up in the borders to re-fight 1st Bull Run (1st Manassas) using figures I had painted up a while ago see here
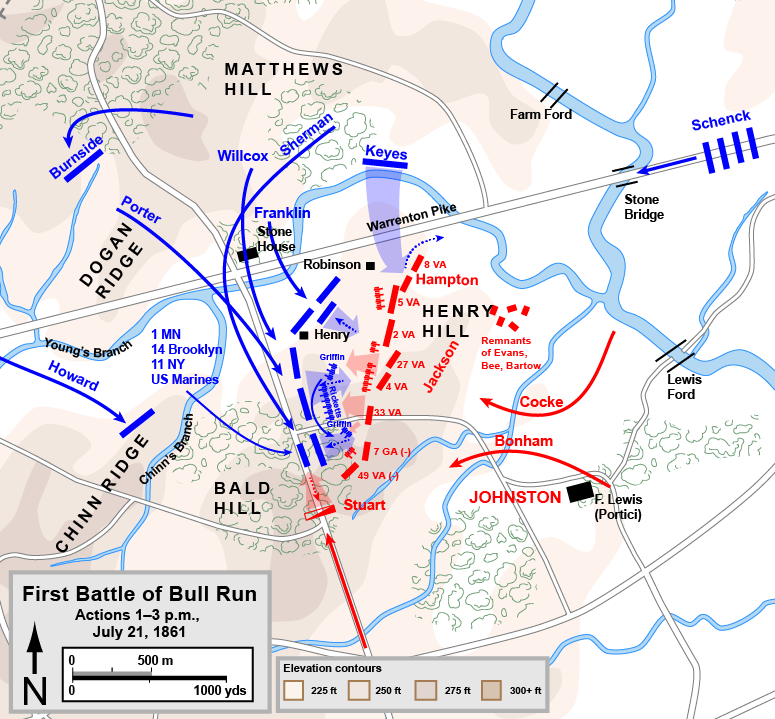
The battle itself is pretty well known but here is a map to get you orientated:


As can be seen, the confederates, anticipating a union direct assault were caught on the hop when they then crossed Sudley Springs ford to the north and outflanked them, forcing Johnston to move to Beauregards support.
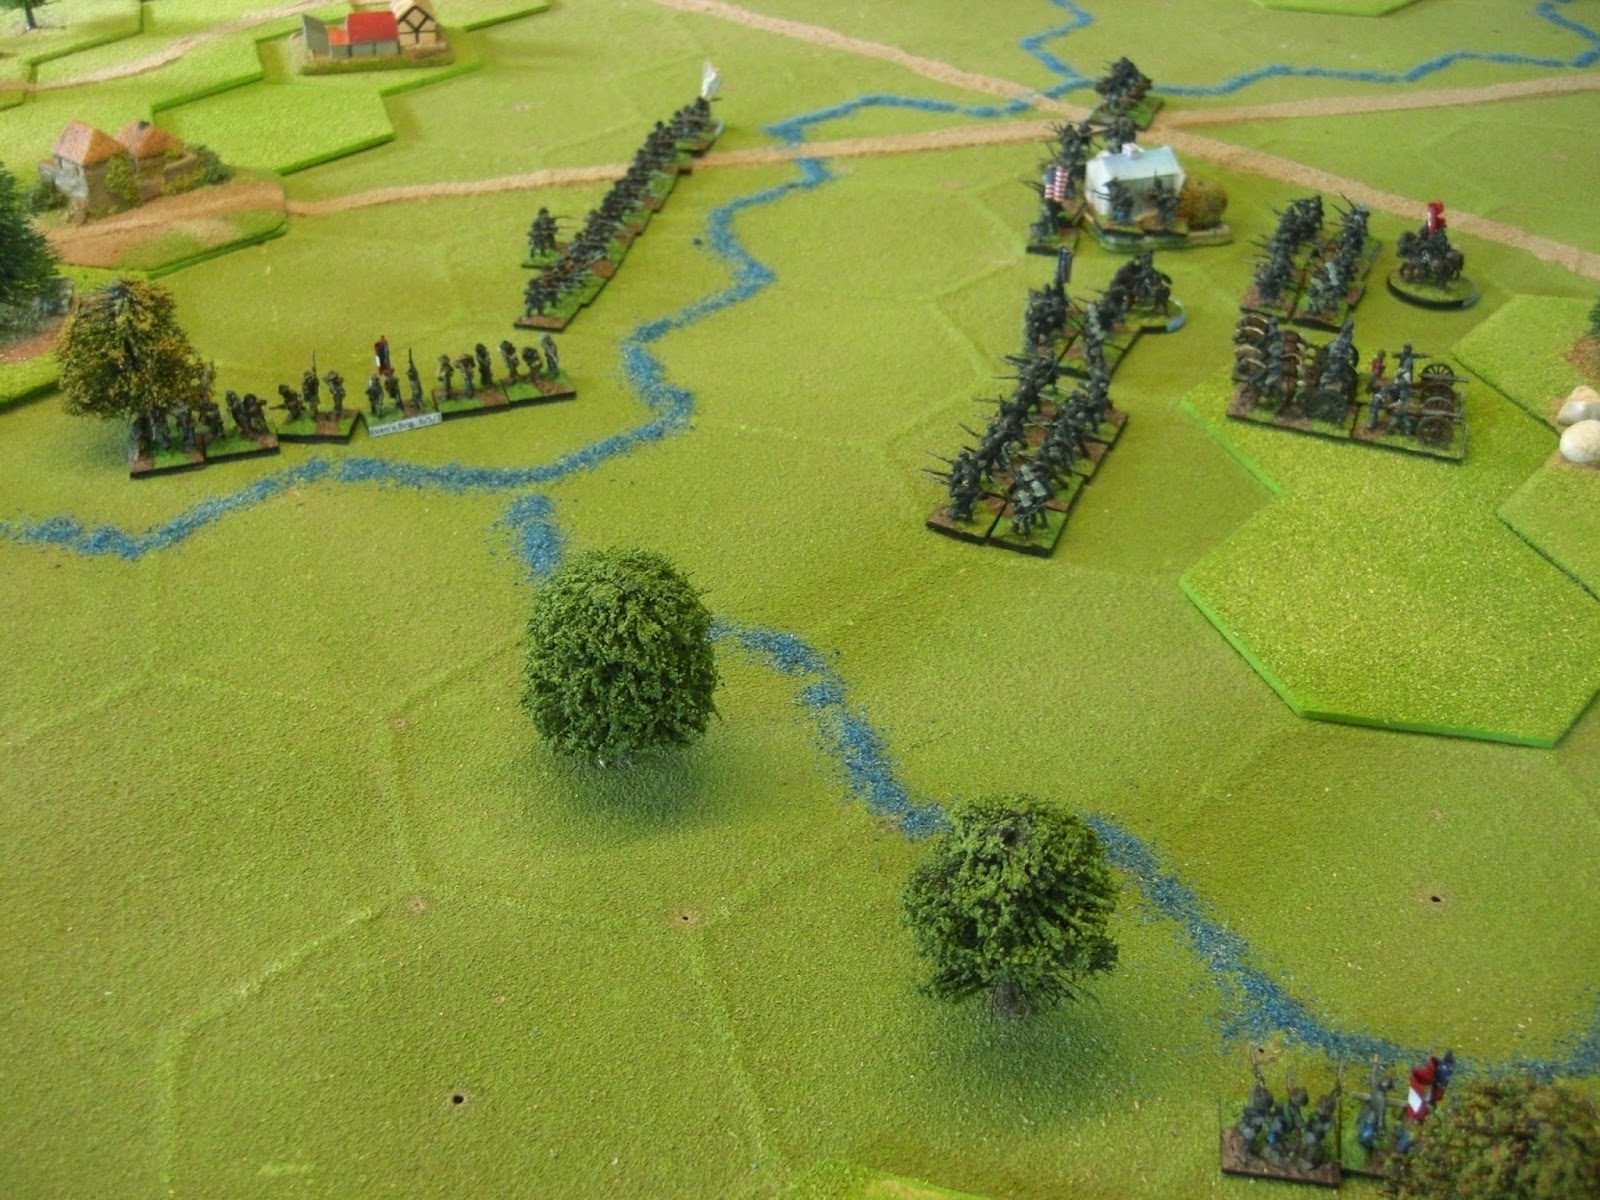
A map of the area fought over on the tabletop:


Neal and Scotty took the confederates, myself with a bit of help from Mick (who also umpired) had the attacking union. Rules used were Fire and Fury with adaptions for Mick's excellent hex base system. So, onto the photos.
A view of the field from the north (Dogan's Ridge on the map above) showing confederate defensive positions with union troops beginning to advance. Henry Hill can be seen in the middle distance with the two farm steadings on them while Stone bridge is in the top left corner of the shot:


A closer shot from the Reb side:


The Confederates decided to fall back in front of the Union advance:


A view of Keye's Union brigade advancing towards the rear of the confederate position after crossing the stream, no worries though, some bloke called Jackson was on his way to save the day!


Jackson's brigade arriving to the left:


A shot of the field at this point in time:


Keyes men turn to their flank to face Jackson:


The battle in the center swayed to and fro over this small stream:


Flanked to their left the confederates in the center streamed back over Henry Hill, where were those rebel reinforcements?


Evan's confederate brigade out of ammo but still clinging onto a section of Henry Hill:


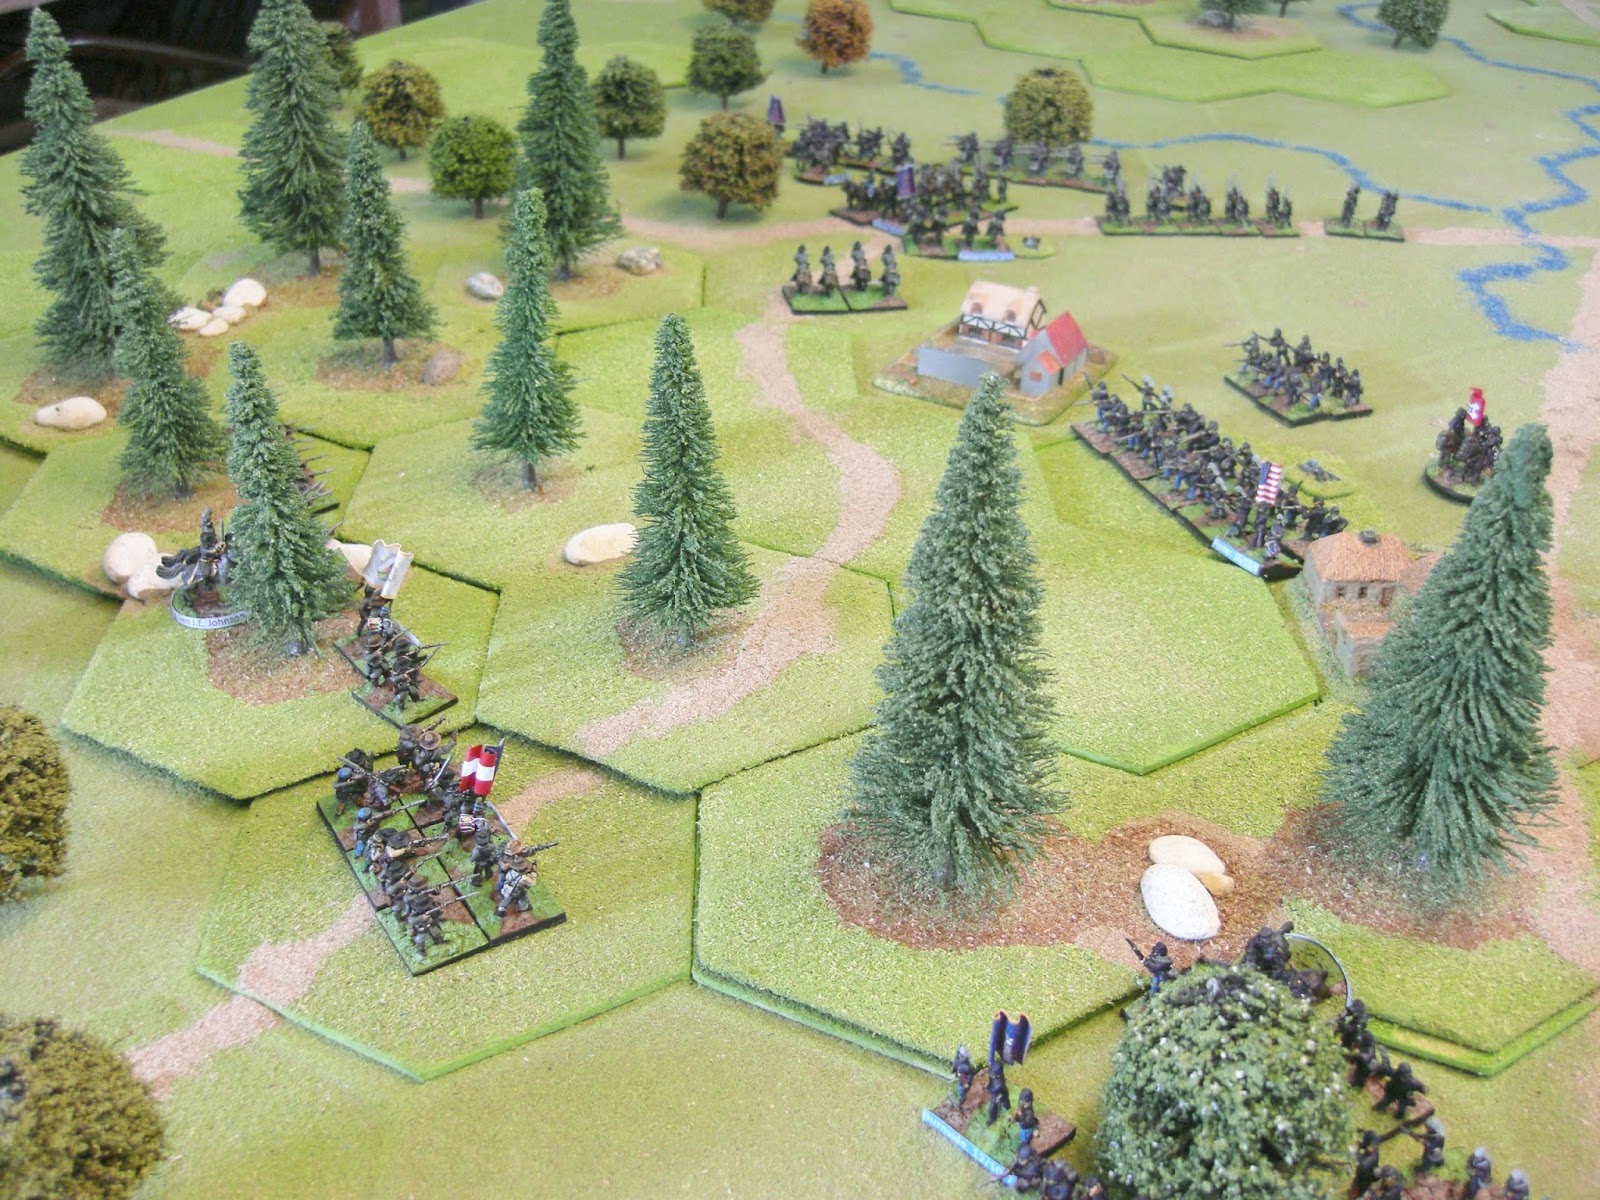
All looks well as the union troops push on, the reb center looks shaky with Jackson holding firm on their right:

Finally confederate reinforcements begin arriving on the right flank of the union line:


After the majority of Johnston's confederate troops had arrived from the south they began to repulse the by then exhausted union forces back off Henry Hill. The union troops had achieved much but could do no more, even in full dress uniforms:


The rebels break through in the center and it was agreed that as twilight was approaching the union forces would decide to withdraw:


A cracking game swaying to and fro each time reinforcement for each side arrived. Points wise it was deemed a draw but Richmond was saved!
Dave.