Welcome

Welcome to my wargaming blog,
I'm Dave and live in Morpeth, Northumberland in the UK.
This may or may not be a regular thing, we'll just have to see how it goes.

I am a painter/collector of figures first and a wargamer second. My thrill in this great hobby of ours is to place that final well researched & painted unit into the cabinet. The actual gaming with the figures is an important but secondary experience, we all like to win, but it isn't the be all and end all of it, being with good friends and having fun is.
Hope you will enjoy reading this blog as much as I will writing in it.
Just to remind the visitor to scroll down the various pages and click on 'older posts' to see more.
Dave.

Sunday, 9 September 2012

Paltzig 1759

This post has been on the back burner for a while as the game actually took place a month ago so my apologies to the rest of the lads that took part, however as you all know life gets in the way!
Six of us traveled up to Micks in order to take part in the Seven Years war battle of Paltzig 1759. Rules used were Mick and Mikes, Gaming room Mick's.

Unashamedly copied from Wikipedia:

At the end of April 1759, a large Russian army (about 70,000 men) started its advance on Brandenburg. Dohna, the commander of the small Prussian army (18,000) in this area, was very slow to react.
At the beginning of June, the Russian army, now under general Piotr Semionovitch Saltykov, had managed to concentrate at Posen (actual Poznań) without any interference from Dohna. Saltykov then proceeded to the invasion of Brandenburg, starting his advance on Crossen (actual Krosno).
By July 17, the Russians had reached the area of Züllichau (actual Sulechów) a few km from the Oder river. Dohna failed to interpose his small army between the Russians and the bridge at Crossen. Frederick II quite upset by Dohna's inefficiency despatched lieutenant-general Kurt Heinrich von Wedel to replace Dohna.
Wedel reached his army in the evening of Saturday July 22.

Initial Manoeuvres

On July 23 at daybreak, Wedel set out to reconnoitre the ground and to see with his own eyes the army that he was supposed to stop. The heavily wooded area prevented him from seeing very much, but he saw glimpses of stationary troops that he mistook for the Russian left wing while they were in fact the rearguard. This led him to think that the whole Russian army was still idle and that therefore he still had time to outmanoeuvre it. Indeed, the Russians were already on the move to march towards Crossen by Heinersdorf (unidentified location), Nickern (actual Niekarzyn) and Paltzig (actual Palck) to eventually make a junction with an Austrian corps led by Hadik and Loudon.
At 10:00 AM, Wedel returned to the Prussian camp at Züllichau reassured about the intention of the Russians.
However, at 11:00 AM, the heads of the Russian columns began to emerge from the woods in full view of the astonished Prussian left wing in front of the village of Paltzig about 9 km from Züllichau. Wedel was immediately informed but did not believe the report and went personally to observe the Russian troops.
Wedel could not ignore that the king had dismissed Dohna for being too cautious, he was under pressure and he took a step that under different circumstances he probably would never have taken, he decided to attack the Russian army while it was on the march. Some Prussian generals were not sharing his confidence. General Wobersnow pointed out that the enemy was probably 40-50,000 strong with plenty of artillery pieces while their own army could not muster more than 27,000 and “I know not if we can bring a single cannon to where Saltykov is.” (Tempelhof iii 132-134).
Nevertheless, Wedel ordered his troops to march in 2 columns by the left: the first towards Kay (actual Kije) and the second towards Mohsau (actual Mozow).


 The ground separating the two armies was hiding quite a number of unpleasant surprises, first there was a little stream running from Kay to the Oder. The banks of this stream were marshy and it could not be forded. Men could only pass it by using a narrow road leading to a small bridge in the proximity of the mill of Kay. There was also a second brook, a branch of the first one and this time there was no bridge across it.

If you wish to read an account of the actual battle then look Here

Pictures say a thousand words so here we go.

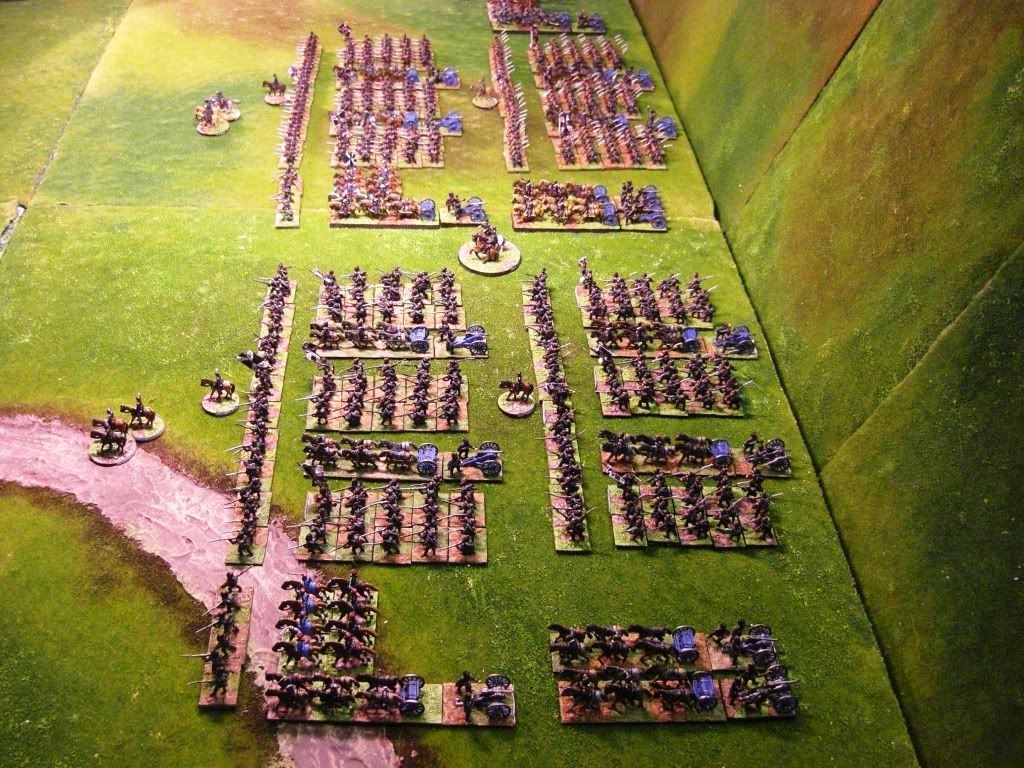
A view of the initial deployments, the Russian centre and left (to the top of the picture) with the village of Paltzig top left and Glogsen centre right. The Prussians have deployed artillery in front of Glogsen and their massed infantry is about to set up behind the Hussars visible bottom right the area to the top of the picture was ignored by the Prussian commanders who concentrated all their forces to their left:


The Russian left wing:


The Russian centre as visible to the Prussians:


The Russian right, anything behind hills or other troops was left off the table (a hint of things to come):


The Prussian Hussars bravely sacrificed themselves covering the following infantry and took out many of the Russian guns which on the day of the actual battle did much of the damage to the Prussians:


The Prussian left wing heavy cavalry, using the ridge to screen it's advance surprises and routs the Russians to their front:


Reverse view from the Russian side:


 They then deploy awaiting infantry and artillery support to threaten the Russian right flank:


They faced these Russians on the ridge and to the flank:


Meanwhile the lines of Prussian infantry continue to advance towards the Russian held ridge:


The Russian view:


Russian Hussars start to move off to attack the right of the advancing Prussian infantry, not many of them but they proved to be pesky buggers. The Prussian commanders wondered at the time why the majority of this Russian flank didn't move, they would soon find out:


The Prussian infantry attack went in and smashed the first Russian line and a second became visible behind the ridge:


With a third forming up and a fourth re-deploying from their left wing:


Three Russian lines were broken before the Prussian infantry finally ran out of steam!

Back on the Prussian left the cavalry division pressed forward taking on and defeating fresh Russian reserve cavalry arriving to save the day, this end of the ridge (center right of the picture) has been taken by the Prussian infantry:


Though successful on the left and having taken the ridge to their front the Prussian attack had simply run out of steam. The Russians had lost a huge number of troops but of course could afford to do so.
The road to Berlin was still blocked so the Russian commanders had achieved their objectives but it must be said that the Prussians could not have done more with the troops available. A closer run thing than on the day of the actual battle.
As usual the game was great as was the company, thanks to you all gents.
Dave

Tuesday, 28 August 2012

Austrian Chevaulegers part 2

Finally, finally finished them. Looking back I think I should have split the painting in two lots of twelve but I wanted to get them finished so I bashed on. Frankly by the end I was sick of the sight of the buggers but it has to be said that they've turned out well and I'm quite pleased.
The Eureka figures are well proportioned and have painted up easily, they're a cross between the more formal Front Rank look and the more animated Elite type so other than the cost (which I was prepared to pay to get the Austrian cavalry brigade compleated) I'm happy enough.
I decided that I didn't want to paint the red facings of the first two green coated Chevauleger regiments, the only other regiment with green coats at this time 1794-5 (other than the Latour regiment who wore cocked hats) was the 4th with blue facings.
So onto the pics

First off a general view of the 4th (Baron Vincent) regiment:


A closer shot:


Various individual pictures,


Officer and standard bearer (this was a trooper with the sword removed, hand drilled through and staff added. Eureka don't supply one as rightly they say that the flag was generally left at the depot for light cavalry regiments, but I wasn't having that!):


At least the Austrians now have a suitable cavalry brigade to oppose the four (rather crappy) French cavalry regiments on the other side of the table.
More 15mm ACW, then re-basing the 15mm FPW French.
Ta Ta for now,
Dave
Sunday, 5 August 2012

Eureka 28mm Chevaulegers

I finally got started with the 28mm Eureka Austrian Chevaulegers for the Revolutionary wars collection, They arrived about a month ago but other things took priority. When finished the Austrians will have two regiments (one Hussar, one Chevauleger) to oppose the French four regiments (two Dragoons, one Hussar and one Chasseurs).
Firstly these figures are expensive, there's no getting away from that no matter that the manufacturers say that its the exchange rate, postage etc, boy do they cost (it doesn't help that I had to pay import tax but that's down to bad luck).
I got them as no one else does Austrian Chevaulegers for this period and the fact that they look pretty good on line and frankly from that perspective I wasn't disappointed, 24 figures, four different poses for horse and rider (a few arm bends give even more) plus one trumpeter, one officer and one wounded figure. One thing though there was no figure carrying the standard bearer, I couldn't see one in the Eureka catalogue so I presume they either don't do one or this type of Chevaulegers at this time didn't have one. I looked in books, on line etc and there's no mention that I can find pointing out a lack of standard bearer but I stand to be corrected. As no regiment that I put on the table goes into a fight without a flag I soon decided to lop the sword off one of the riders and and stick a flag staff in his mit!
There was very little flash so they cleaned up fine. The castings themselves look good, everything sculpted well and correctly proportioned. I like Elite/Old Glory type figures with plenty of movement and these are about halfway between those and (at the other extreme) Front Rank. The faces are a bit bland, but not the worst I've seen, so all in all a pretty decent set of figures which should paint up well.
So on with the pics:

All 24 figures trimmed up, undercoated and on their stands:


A couple of close ups:


Some pictures with the horses done:


For the horses a simple base coat then a wash of Devlin Mud or black.
24 figures take a while to paint so I'll put the next post on when their done.
Dave.

Friday, 3 August 2012

Italy 1795

A few pictures of a club game set in Piedmot pre Napoleon in 1795 based round the time of the battle of Loano.
The French had pretty much double the number of squadrons/battalions compared to the Austrians but they were of very dubious quality. French commanded by Scotty (a newcomer to the rules) had the infantry while Mick took the French cavalry, on the Austrian side Tom had their infantry and Carl the single Hussar rgt.
The Austrian center awaiting the French attack:


With their Grenzers occupying the town on the Austrian left:


The Kaiser Franz Hussars on their right:


A French Demi Brigade ready to advance with a skirmish screen to the front:


The French cavalry, Chasseurs and Hussars:


After numerous charges the French cavalry were chased from the field by their Austrian opponents:


Using General de Brigade I classed the Austrian cavalry as veteran with superior mounts while the French were conscript, inferior mounts and it told in the end!

The right hand French Demi Brigade attacked the town but were repulsed by the Grenzers with sterling support from a couple of battalion guns (Tom unsurprisingly threw a double six with the gun model, while Scotty had the usual crappy dice of a visitor to the club):


The French center steamed through the vineyard but again were thrown back by disciplined Austrian volley fire:


An Austrian victory. We concluded that to succeed the French must weaken the Austrian battalions with skirmish/Grand Band fire and then assault the line with their reserves in column.
Good game, good game.
Dave.

Saturday, 28 July 2012

Teutonic hordes

Well, getting these done took longer that I thought. As I've said before like most of us re-basing figures is probably one of the worst tasks any wargamer can take on. The work involved is huge to what seems when all is done and dusted to be no discernible difference to the look of the figures.
My Franco Prussian War collection was originally based up this way (for Fire & Fury Frances Here) but in a moment of inspiration (stupidity) I decided to double up the stands and fight General de Brigade type battalion level engagements. As I'm a bit of a stickler for accurate figure/ground scale this meant that any table top battles would have to be fought length ways using off table artillery, simply because of the weapon ranges!
Sod that for a box of Smarties and back to Fire and Fury type scales I've gone.
Scotty has been working on his Franco Prussian stuff here and I've done one French Corps here so with more to paint up we should be able to put on a good show eventually.
Each unit represents a Rgt, each model gun represents a battery.
Anyway, on with the pictures (all figures are from Outpost):

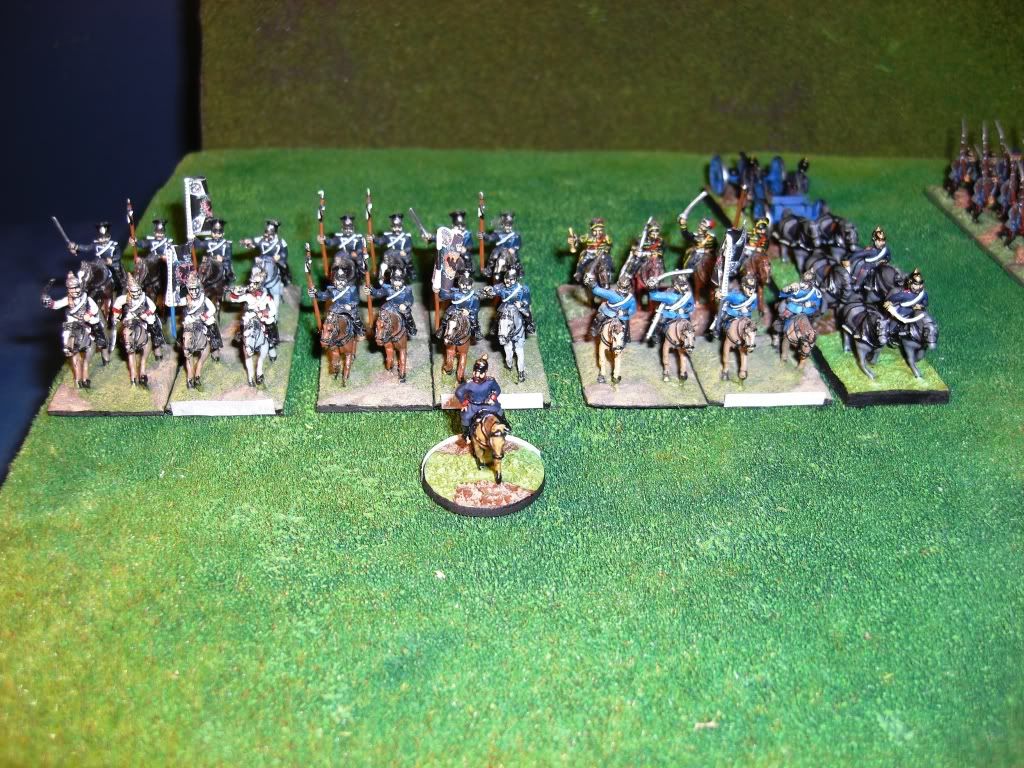
Prussian 4th Cavalry Division:


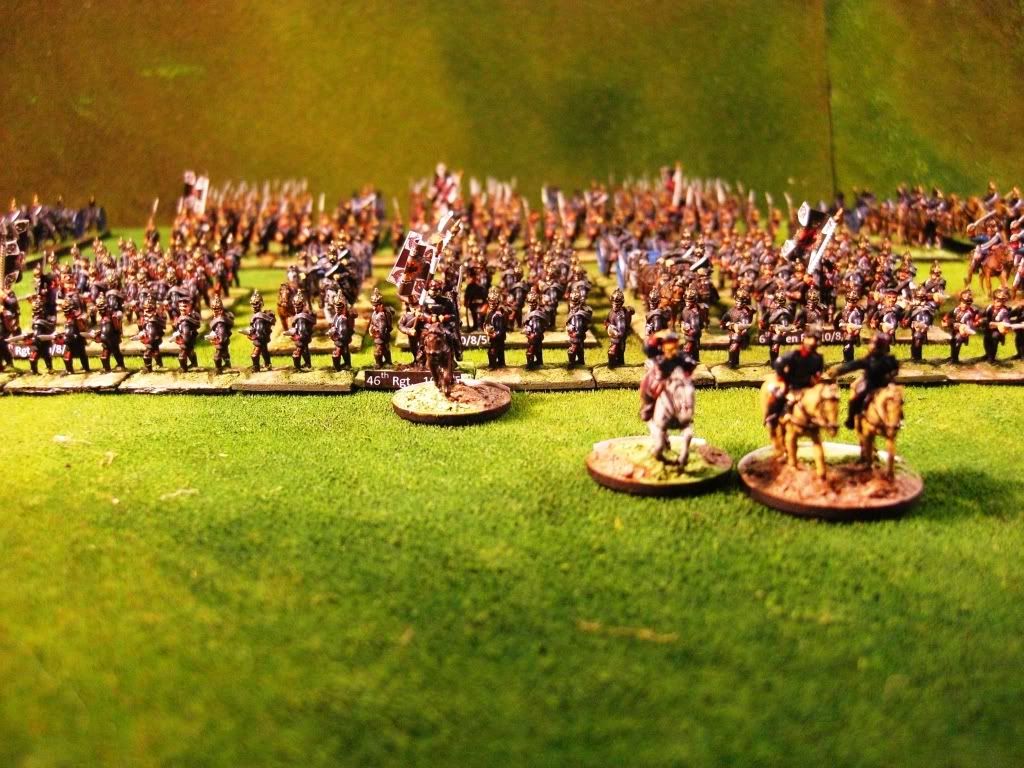
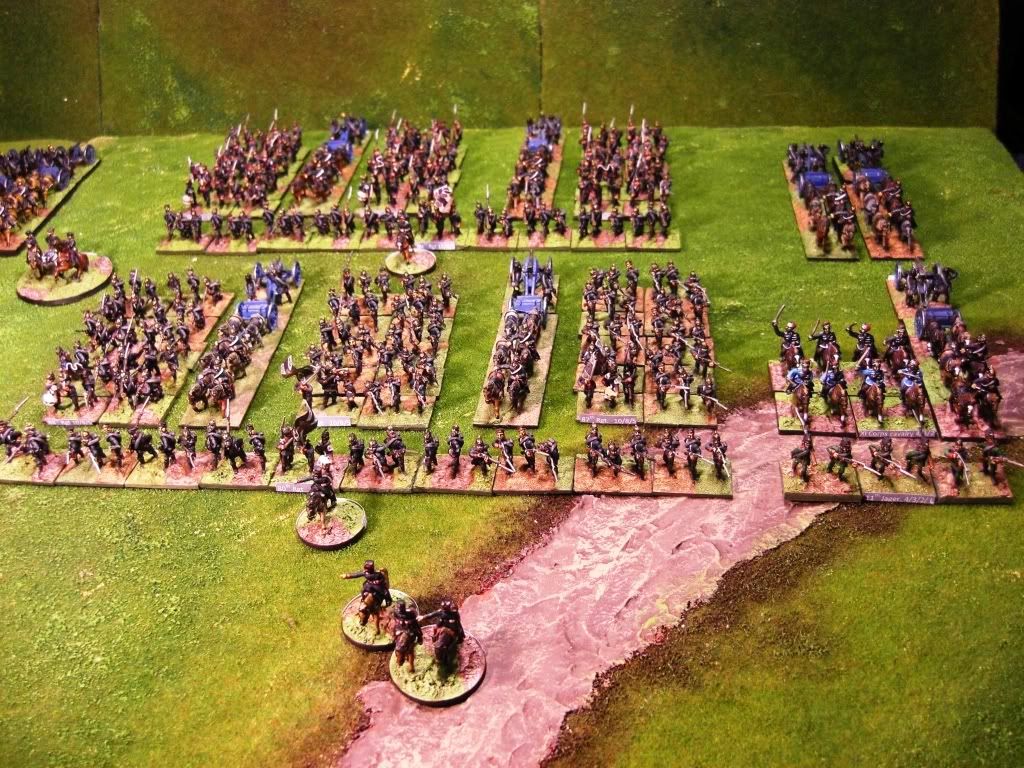
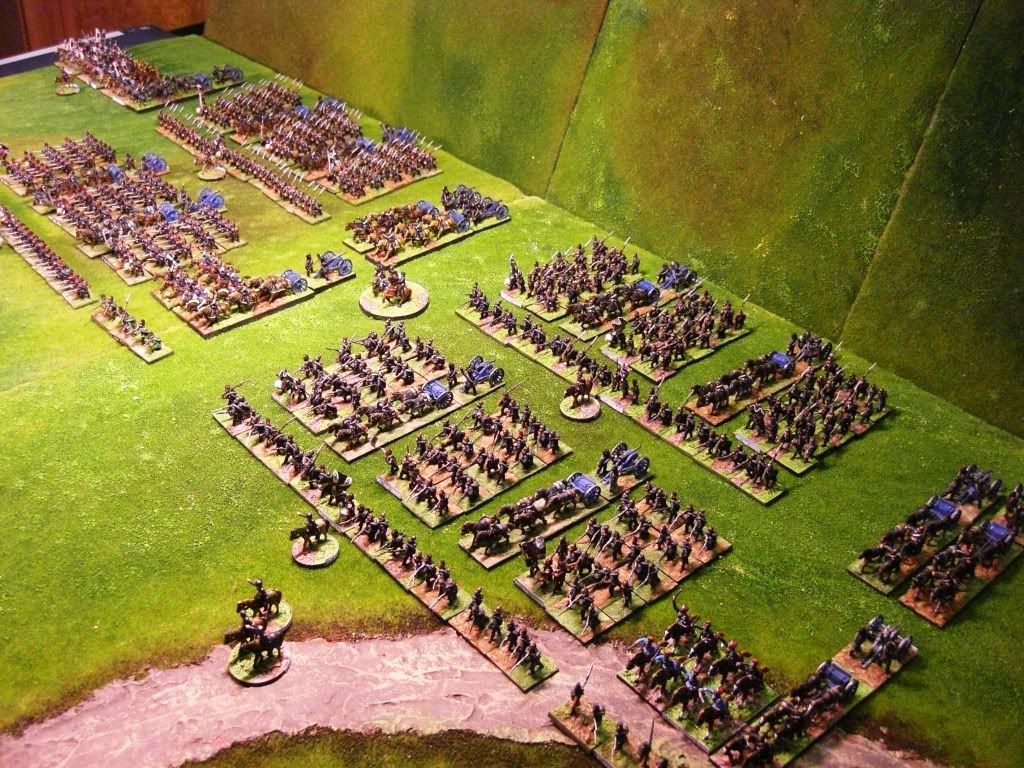
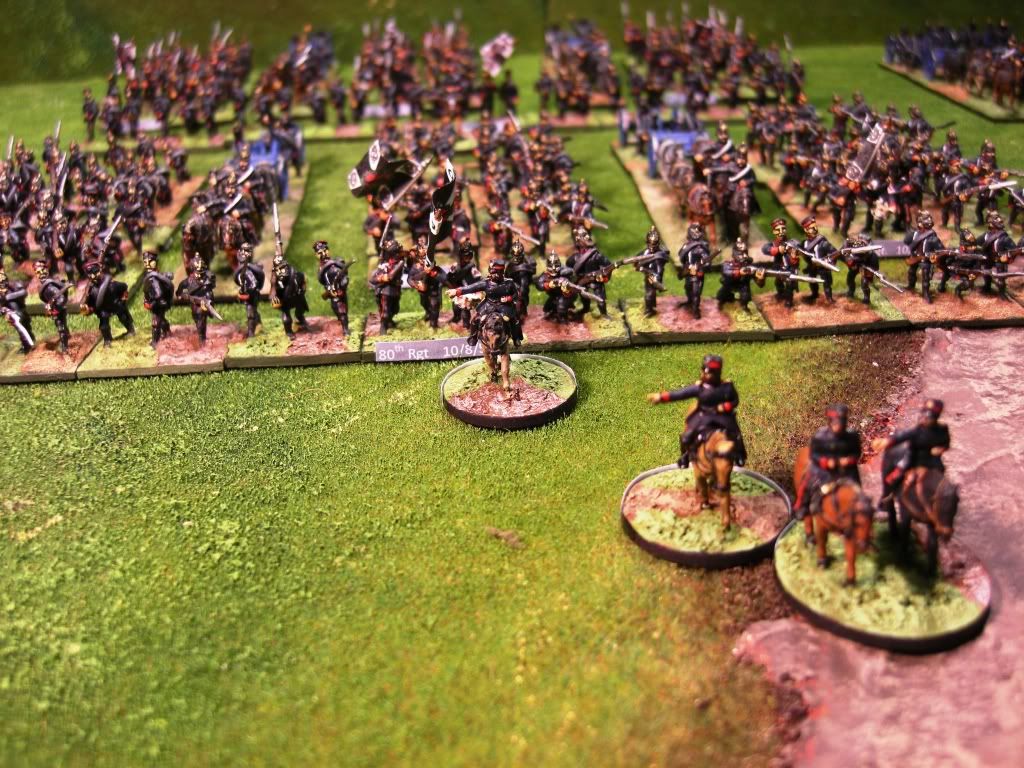
Two Divisions of V Corps:


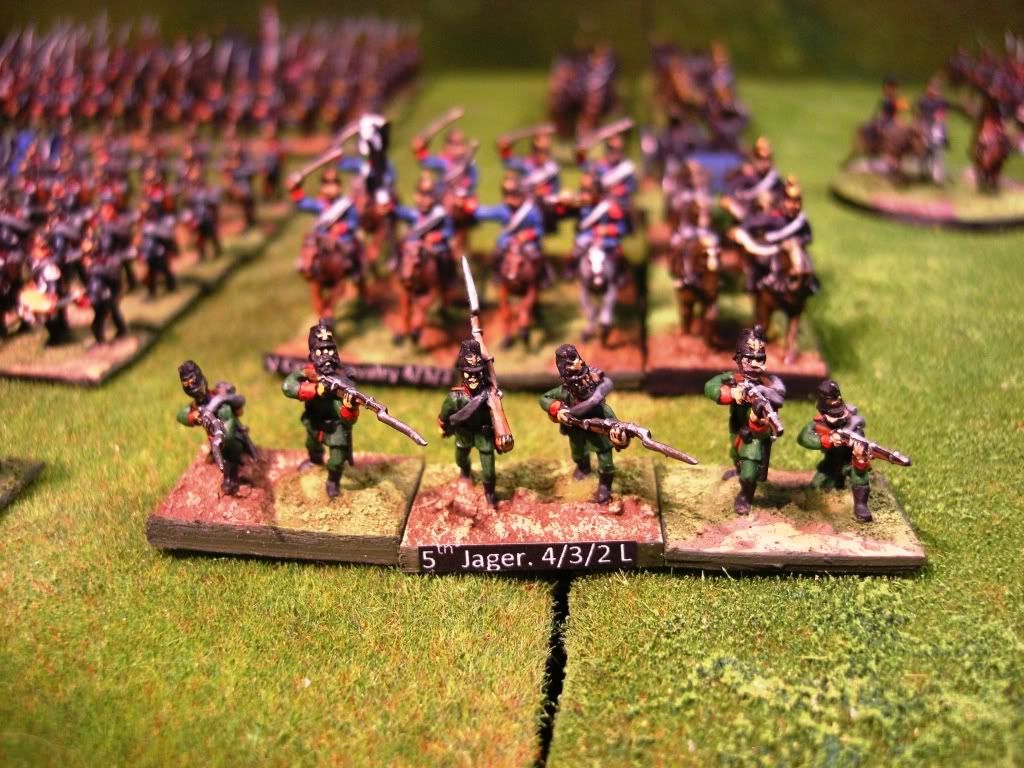
Jagers from V Corps:


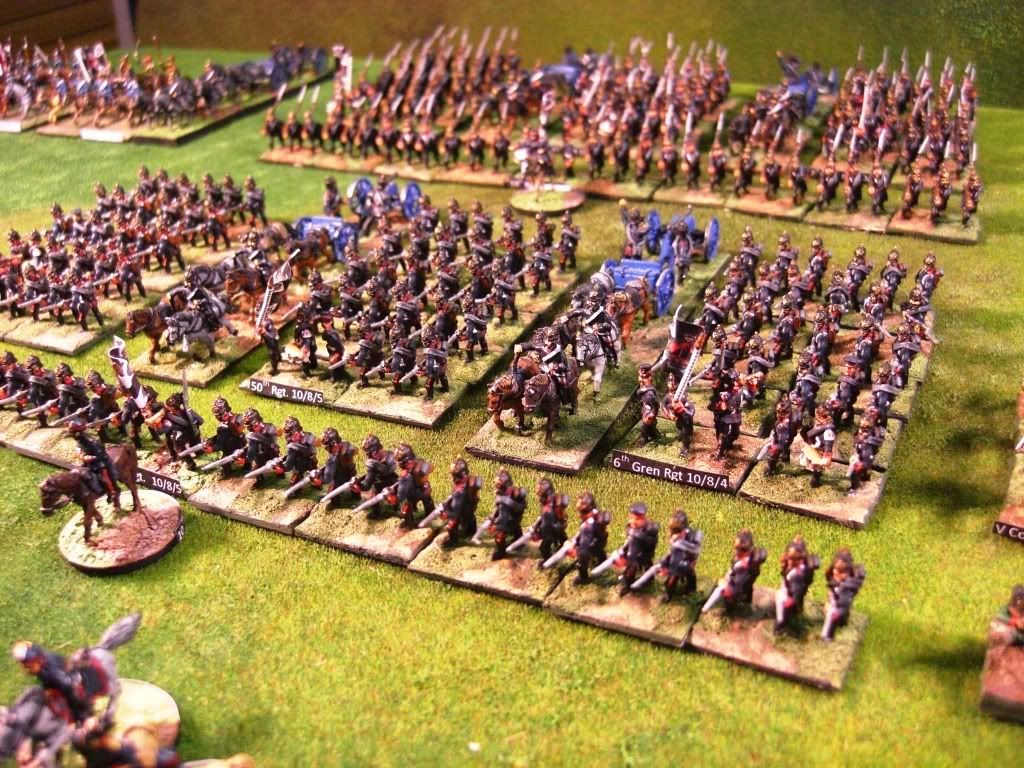
Two Divisions of XI Corps:


V & XI Corp of Third army:


Finally Third army commander Crown Prince Fredrick William:


Other stuff to do as well but it will be two more French Corps next.
Dave