Welcome

Welcome to my wargaming blog,
I'm Dave and live in Morpeth, Northumberland in the UK.
This may or may not be a regular thing, we'll just have to see how it goes.

I am a painter/collector of figures first and a wargamer second. My thrill in this great hobby of ours is to place that final well researched & painted unit into the cabinet. The actual gaming with the figures is an important but secondary experience, we all like to win, but it isn't the be all and end all of it, being with good friends and having fun is.
Hope you will enjoy reading this blog as much as I will writing in it.
Just to remind the visitor to scroll down the various pages and click on 'older posts' to see more.
Dave.

Friday, 27 March 2020

Encounter at Richendorf 1800. 28mm French Revolution.

Being in self isolation which I may add many people have been calling for for many years regardless of any pandemic which is going about, I have finally managed to nag Chris into digging around in his neither regions (i.e. somewhere on hid computer file) to find the pictures he took of our last French Revolutionary game about a month or so ago. He sent me these today so onto the blog they must go.
Set in the Rhineland area in 1800 it sees a French army attempting to hold back a large Austrian counter attack with the Austrians being gradually reinforced as the game goes on.


The battlefield on the day with the French positioned on the hill to the right defending the village of Richendorf and the Austrian forces crossing the shallow river to assault them head on.


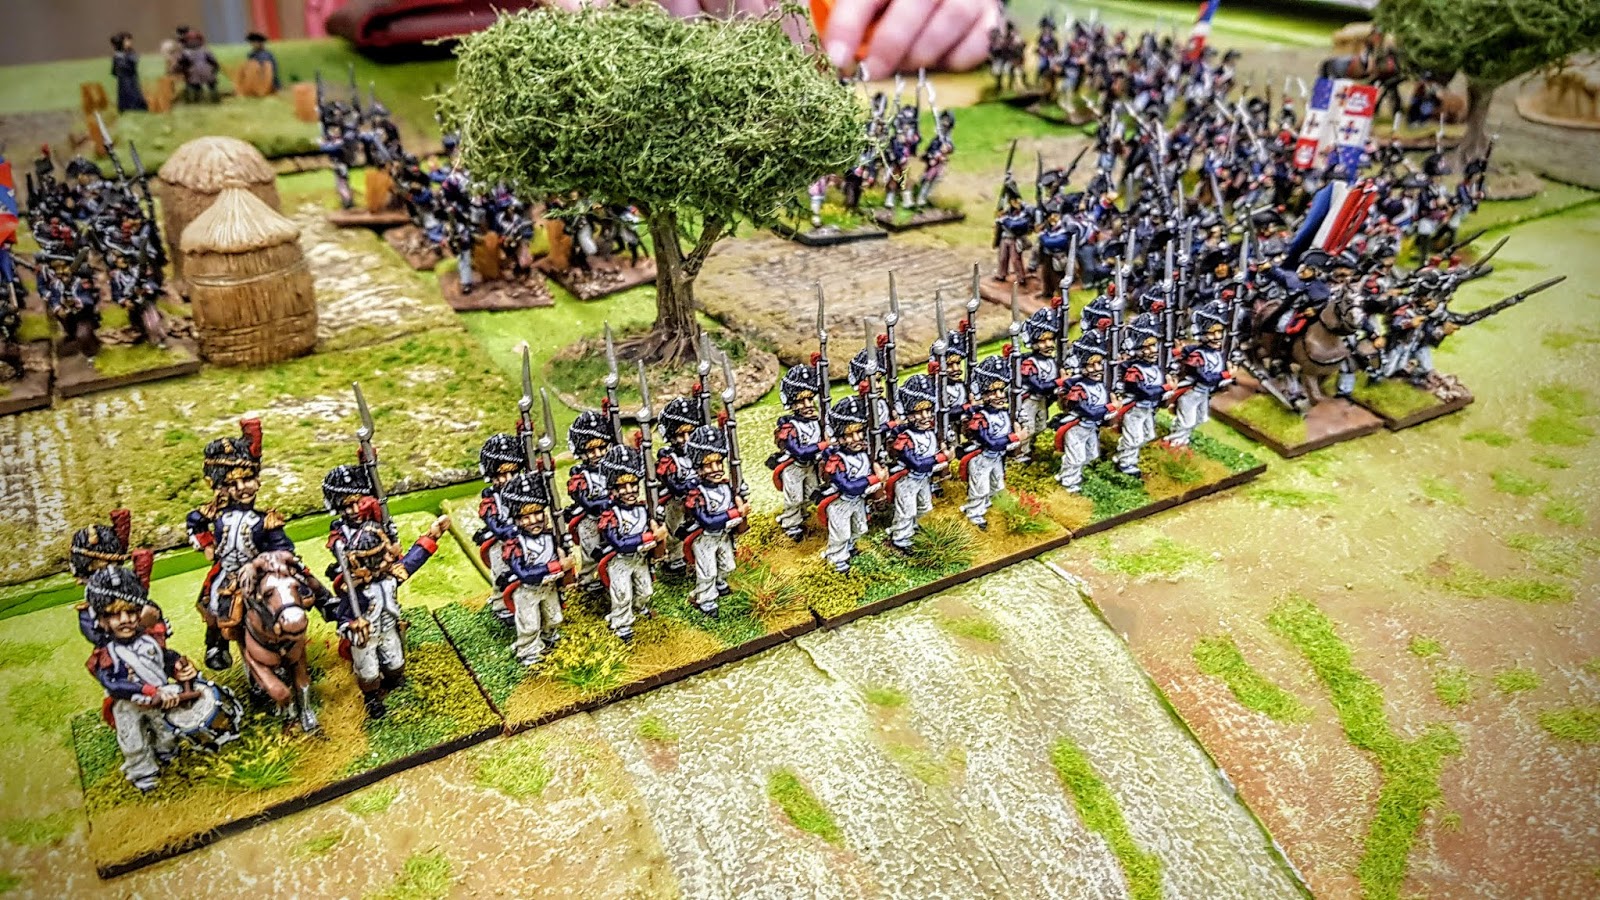
A French combined Grenadier battalion with other French line units in support.


Horse and line artillery batteries.


Various French line battalions.


French Chasseurs and hussars


Various pictures of the advancing Austrian infantry.


Austrian cavalry.


Austrian artillery batteries.


Mark (of Reiver Casting fame, more notoriety actually!) brought along his huge collection of Austrians for their reinforcements.


A bunch of photographs of the action at hand.


The final scene at the end, the Austrians had lost a couple of brigades assaulting the French centre but were getting reinforced and pushing up hard on their left. A good game which truthfully had been cobbled together at pretty much the last minute to accommodate the large number of guys wishing to take part hence the fat that some white coated French units can be seen thrown in to make up the numbers when they would not have been present in 1800.
Thanks as always to Chris for the photos.
Hope you enjoy,
Dave.

Tuesday, 3 March 2020

15mm 1815 Dutch Belgian army for sale

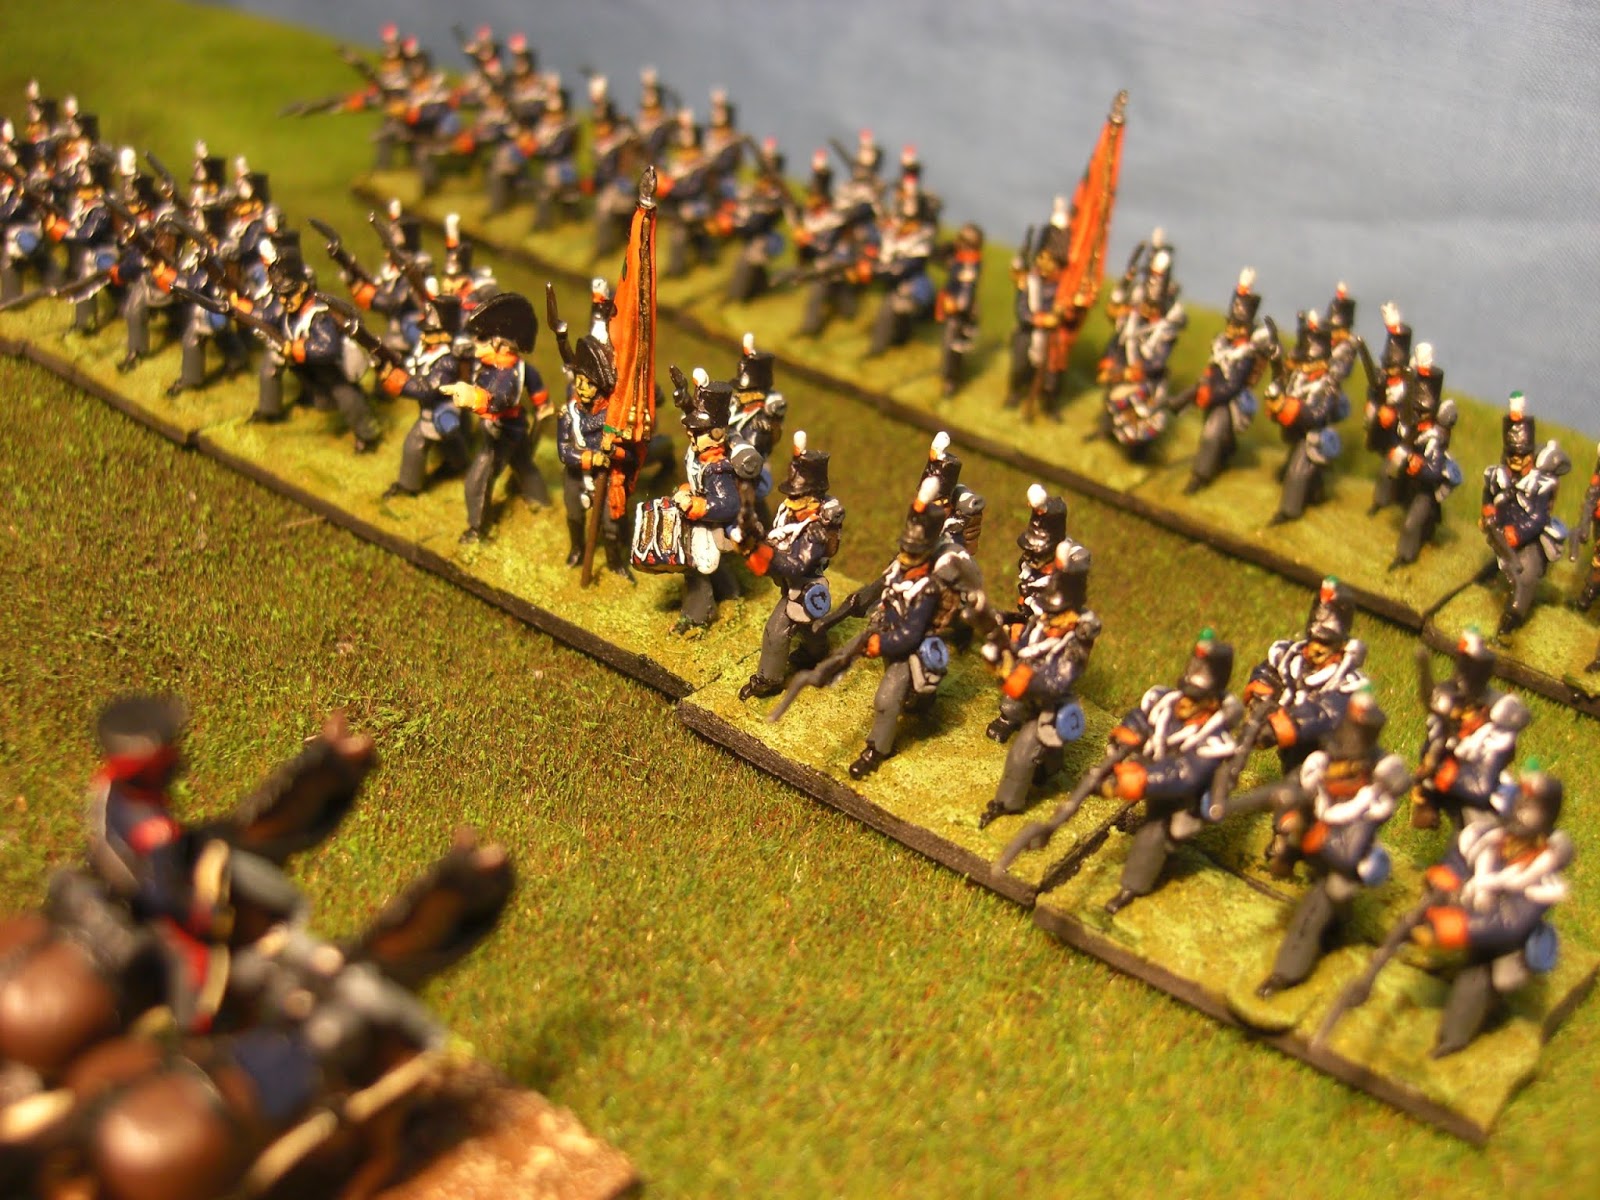
I have decided to move on from 15mm eventually to 10mm. I've been a while coming to this decision but with the fab quality of 10mm now plus the fact that it will allow me to utilise the depth of my wargaming table by reducing the ground scale and thereby having more manoeuvring room to play with.
So first up on Ebay will be these fellows:


Lovely chaps based on Bijlandts brigade with three cavalry rgts and an artillery battery thrown in.

162 infantry.
60 cavalry.
4 guns + limbers.
3 command stands.

Again go to Link
No offers please just bid away if interested.
I will be selling a large 1809 Spanish army next so keep a look out.
Cheers,
Dave.

Saturday, 29 February 2020

A bridge too far! Spain 1809

A tidy little battle using Sharp Practice at the club Border Reivers today, John and Mick taking the Brits while I burdened the poor French with my presence!
The French objective was to get the demolition squad, a rickety cart pulled by a white cow with a hump on it's back pulling two barrels of powder and some very dubious Spanish hired help, to the bridge and blow the poop out of it. This would prevent the British army (at least temporarily) from using the road for supplies.
The British on the other hand needed to secure the said bridge for themselves or face Sir John Moore's wrath.


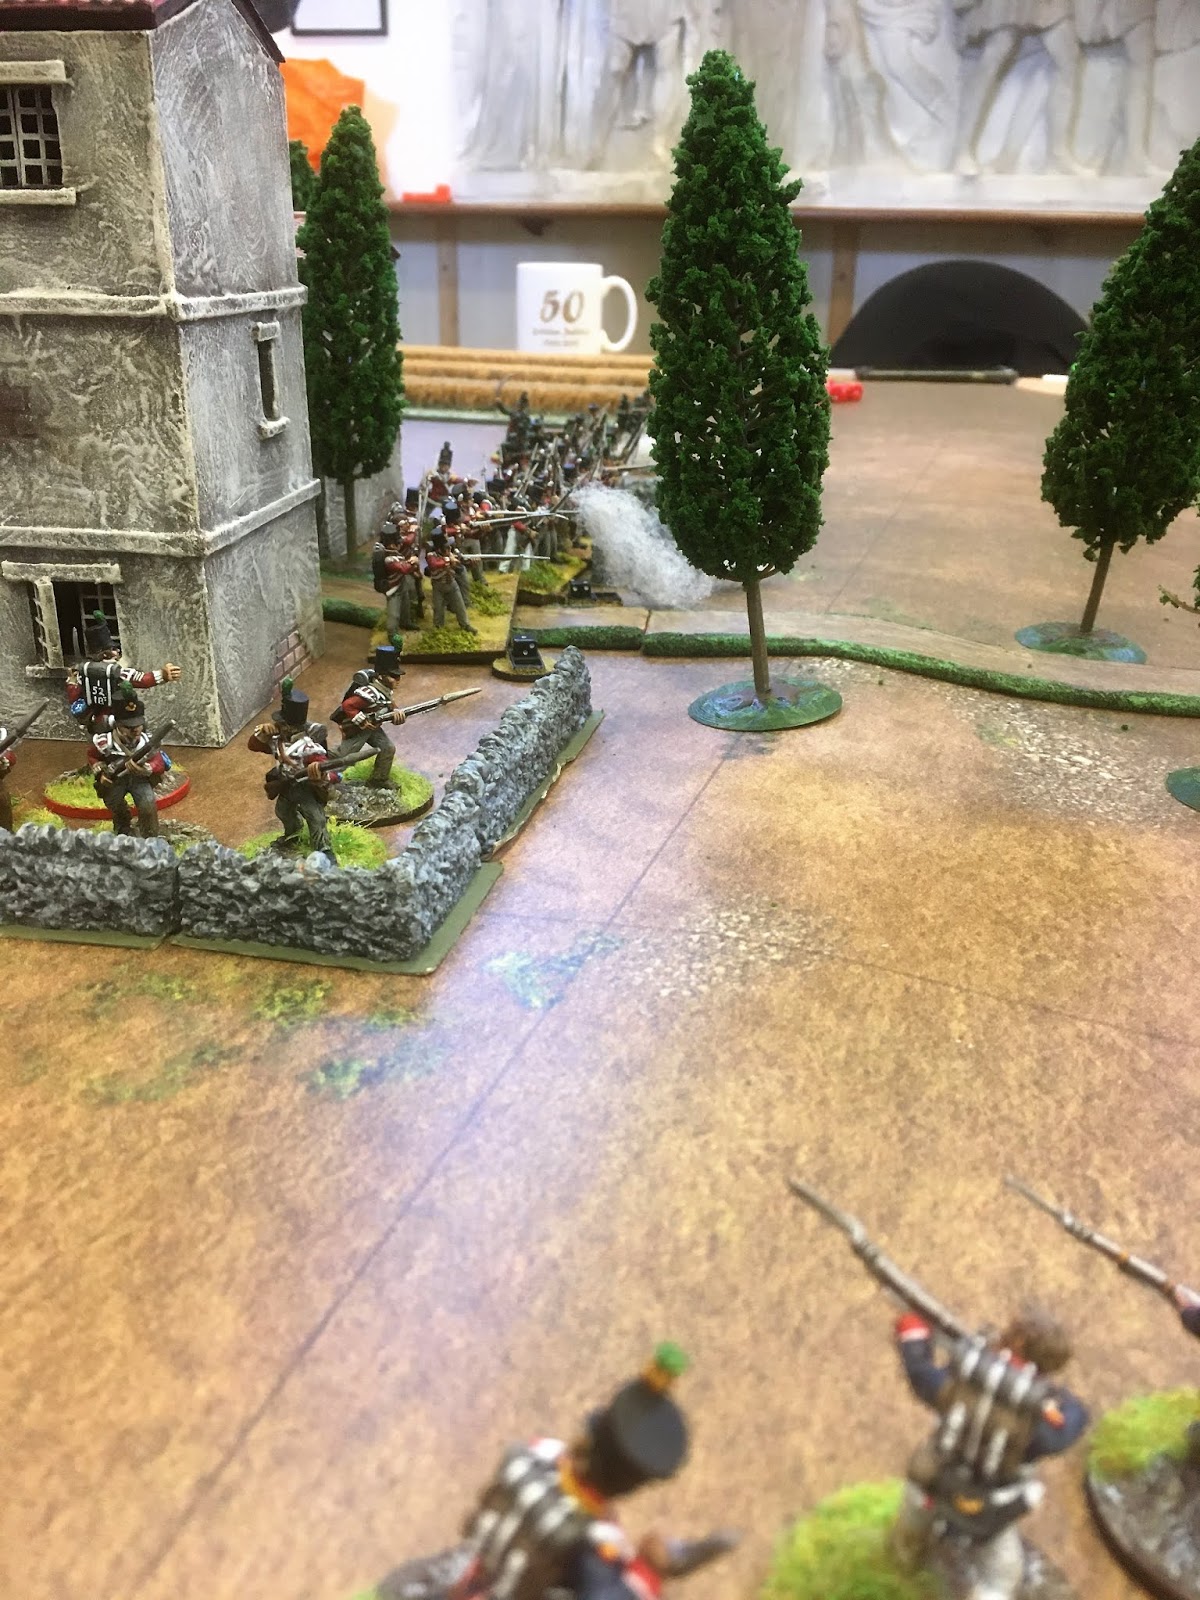
The French main deployment point was just to the right of the church tower with a secondary deployment point to the left of the picture in some heavy woods. The red British deployment point can be seen at the top of the photograph in the village while the bridge is in the centre.


The first turn saw about four French units deployed without one Brit getting onto the table, mutters of cheating bastard could be heard from the two commanders on the far side of the room as I was drawing the chits from the bag! So this meant that I got thoroughly carried away sending my French grenadiers racing off up the road and lining them up covering the bridge while the wagon full of blowy up stuff plodded on behind.


Ready and waiting you shop keeping beef eaters!


Of course along came the British and proceeded to blow the shit out of my grenadiers with steady volley fire supported by skirmishing light infantry on the flanks.


My supports in the form of more grenadiers and voltigeurs eventually arrived but by then the main force in the centre had been well and truly hammered with it's level three commander reduced to a level one having suffered two light wounds.


As can be seen in the top shot this maelstrom had done it's work and the centre force had had enough, crucially though I managed to get them back out of harms way before they broke. This will be one of the deciding factors in the game as my force morale was dropping dangerously low. (Black die - casualties, red die - shock.)


With the British line and 95th occupied slaughtering the remaining grenadier force which had had the temerity to charge them in the rear (don't do that to a British infantryman, it just makes him angry) and wiping out some sacrificial voltigeurs my sneaky Spanish accompanied by a French engineer  and the two barrels of powder managed to get onto the bridge. Needing an eleven to complete the task I threw a nine on the dice roll and finished the job next turn.
Oh I say hard luck old chaps said I, did I bollocks, I couldn't say anything for laughing! John and Mick shook hands and vowed revenge next time.
A cracking game as always with these rules, we all thoroughly enjoyed ourselves.
Buildings by Empires at War Mick's business.
Dave.

Saturday, 8 February 2020

Foot Chasseurs, Consular Guard 1800

Honestly, I'm not cheating here, these lads are definitely a different unit from the last one I posted!
Having done the Grenadiers a couple of months ago I had to paint up the Chasseurs, I know, how often will they get on the table but I had the bare metal figures and I'm not one to let them go to waste and besides I drilled out the hands so that different flags can be slotted in and hey presto they will do for the later Napoleonic period as well. I have seen paintings, sketches etc with the Consular period troops having white turn backs, but I have seen them in red for that period as well and as the later Guard had red turn backs so I went with that. You can't seem to get Consular Guard flags for this period so I had to paint up my own - that was a chew on!
Scroll down and you will see that I have done a couple of command stands to enable the existing battalion (of Grenadiers) to be split into two (the Chasseurs only had one battalion in the early period) as I am in the process of re-jigging all of the French Revolutionary units into 24's as a pose to the 36's they are in now. this will give me more units and will fit in better with the General de Armee rules, so painting up more command stands now.
Finally I added a small unit of Velite as a skirmish screen for the brigade.


On with those command stands.
Dave.